A buyer can scroll through a dealership listing, inspect every static exterior photo, and still wonder what the vehicle looks like from the other side. That hesitation matters. 360 car views let shoppers rotate around a vehicle, inspect its proportions, and explore selected details without waiting for a salesperson to send more images or arrange an appointment.
For dealership teams, the challenge extends beyond producing an attractive spin. The useful system combines controlled capture, accurate stitching, sensible file delivery, and enough interactive information to answer real buyer questions. A polished tour can support listings and follow-up conversations, but a poorly aligned panorama with visible seams can reduce confidence instead.
Table of Contents
- Understanding 360 Car View Basics
- Capturing or Generating Your 360 Car View
- Converting Standard Images into Panoramic Scenes
- Enhancing Views with Hotspots and Info Panels
- Embedding and Sharing Your 360 Car Views
- Optimizing 360 Views for Web and Mobile
- Tips and Troubleshooting for Flawless 360 Car Views
Understanding 360 Car View Basics
A 360 car view is an interactive scene that lets a shopper explore a vehicle rather than viewing a fixed sequence of photographs. The exterior may be presented as a rotating spin, while separate scenes can show the cabin, cargo area, dashboard, or engine bay. The strongest listings use the view to answer practical questions, such as whether a wheel has curb damage, how much legroom appears available, or whether a trim feature is present.
The idea has a useful automotive history. Nissan's Around View Monitor on the 2007 Infiniti EX35 is widely credited as the first OEM surround-view system, using four wide-angle cameras positioned around the vehicle to synthesize a bird's-eye image. That deployment established the technical pattern still used in low-speed maneuvering systems, although dealership listing tours serve a different purpose: they present a vehicle for remote evaluation rather than helping a driver park.
Before producing a first tour, a dealership should prepare four basics:
- Capture equipment: A DSLR, mirrorless camera, or capable smartphone can work for a photo-based workflow. A consistent lens and fixed shooting position matter more than owning the most expensive body.
- Editing familiarity: Staff should understand cropping, exposure matching, image export, and basic file organization. Stitching software can automate much of the work, but it can't rescue badly mismatched source images.
- A tour builder account: VirtualTourEasy can be used as one option for turning regular images or existing 360 files into interactive scenes, then adding hotspots and information panels.
- Vehicle preparation: Clean paint, clear windows, aligned wheels, and a neutral background make the finished view easier to trust. A digital tour magnifies defects that ordinary listings sometimes hide.
Vehicle identification should also remain separate from visual presentation. Before publishing a tour, staff can use DreamBid VIN analysis tools to verify equipment information and window-sticker details, then use those verified details in the tour copy. That prevents a visually convincing listing from making inaccurate claims about packages or factory options.
Practical rule: A 360 view should reduce uncertainty, not create a more attractive way to conceal it.
The production target depends on the workflow. A studio rig gives repeatable geometry and controlled lighting, while an AI-assisted process can reduce equipment requirements. Both still need quality control by someone who understands what a buyer is likely to inspect.
Capturing or Generating Your 360 Car View
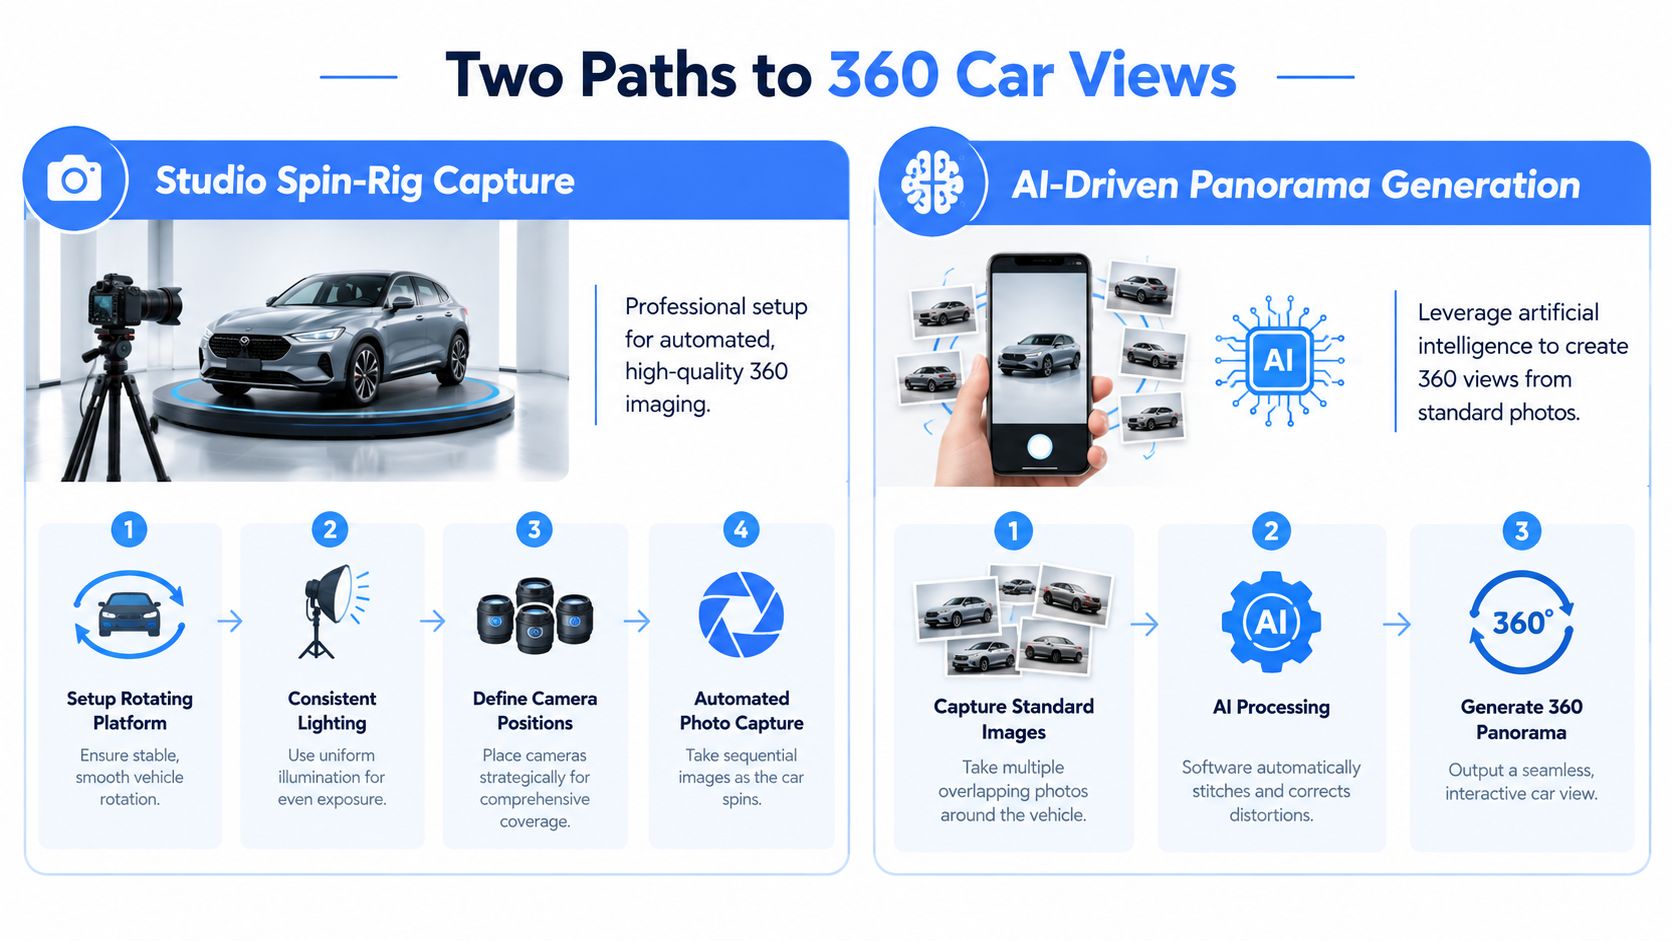
Two production paths are practical for most dealerships. A studio spin-rig capture creates a controlled image sequence by rotating the vehicle or camera through standardized positions. AI-driven panorama generation starts with ordinary photographs or a text prompt and asks software to construct an immersive scene. The choice affects consistency, labor, hardware, and the level of visual accuracy a listing can support.
Studio spin-rig capture
A controlled rig is the safer choice when the dealership needs repeatable results across a large inventory. The vehicle sits on a rotating platform, the camera remains fixed, and lighting stays consistent while the system records sequential views. A production-grade automotive setup may use four near-range cameras with approximately 190-degree apertures at the front, rear, and side mirrors, followed by calibration, distortion correction, bird's-eye projection, stitching, blending, and a virtual-vehicle overlay. Bosch's reference architecture also describes fusing ultrasonic data into a dynamic 3D wireframe, a feature more relevant to maneuvering assistance than listing photography but useful for understanding the processing chain. Bosch's surround-view reference architecture explains how these stages work together.
For a car-spin photography workflow, roughly 85 exterior images can produce a vehicle view, with capture completed in about 3 minutes in a controlled studio setup. Embitel's explanation of 360-degree car camera workflows links that result to a rotating platform and standardized lighting. The number is useful for planning storage and processing, but it shouldn't be treated as a universal requirement. Vehicle size, camera spacing, desired smoothness, and software output all affect the final sequence.
AI-driven panorama generation
AI is more flexible when the dealership has no rotating platform or needs to produce a view from existing listing material. Staff can upload key angles, use overlapping photographs, or provide a descriptive prompt in a compatible platform. The software attempts to extend missing areas, correct perspective, and assemble a navigable scene.
That speed comes with a clear trade-off. AI can invent or distort details where source coverage is weak, especially around wheels, mirrors, glass reflections, badges, and interior transitions. It works best as a presentation aid for exploration, not as a substitute for accurate evidence of vehicle condition. If a shopper might rely on a detail to assess damage or equipment, the original photograph should remain available.
A simple selection framework helps:
| Priority | More suitable workflow | Main compromise |
|---|---|---|
| Repeatable inventory imaging | Studio spin rig | More setup and equipment |
| Fast experiments or low-volume listings | AI generation | Greater risk of visual inaccuracies |
| Condition transparency | Controlled photography | Requires disciplined capture |
| Existing image library | AI-assisted conversion | Output depends on source coverage |
Dealerships can read VirtualTourEasy's guide to taking 360 photos before deciding whether the existing camera workflow is sufficient. The important question isn't which method looks more advanced. It's whether the finished view matches the evidence a buyer needs.
Converting Standard Images into Panoramic Scenes
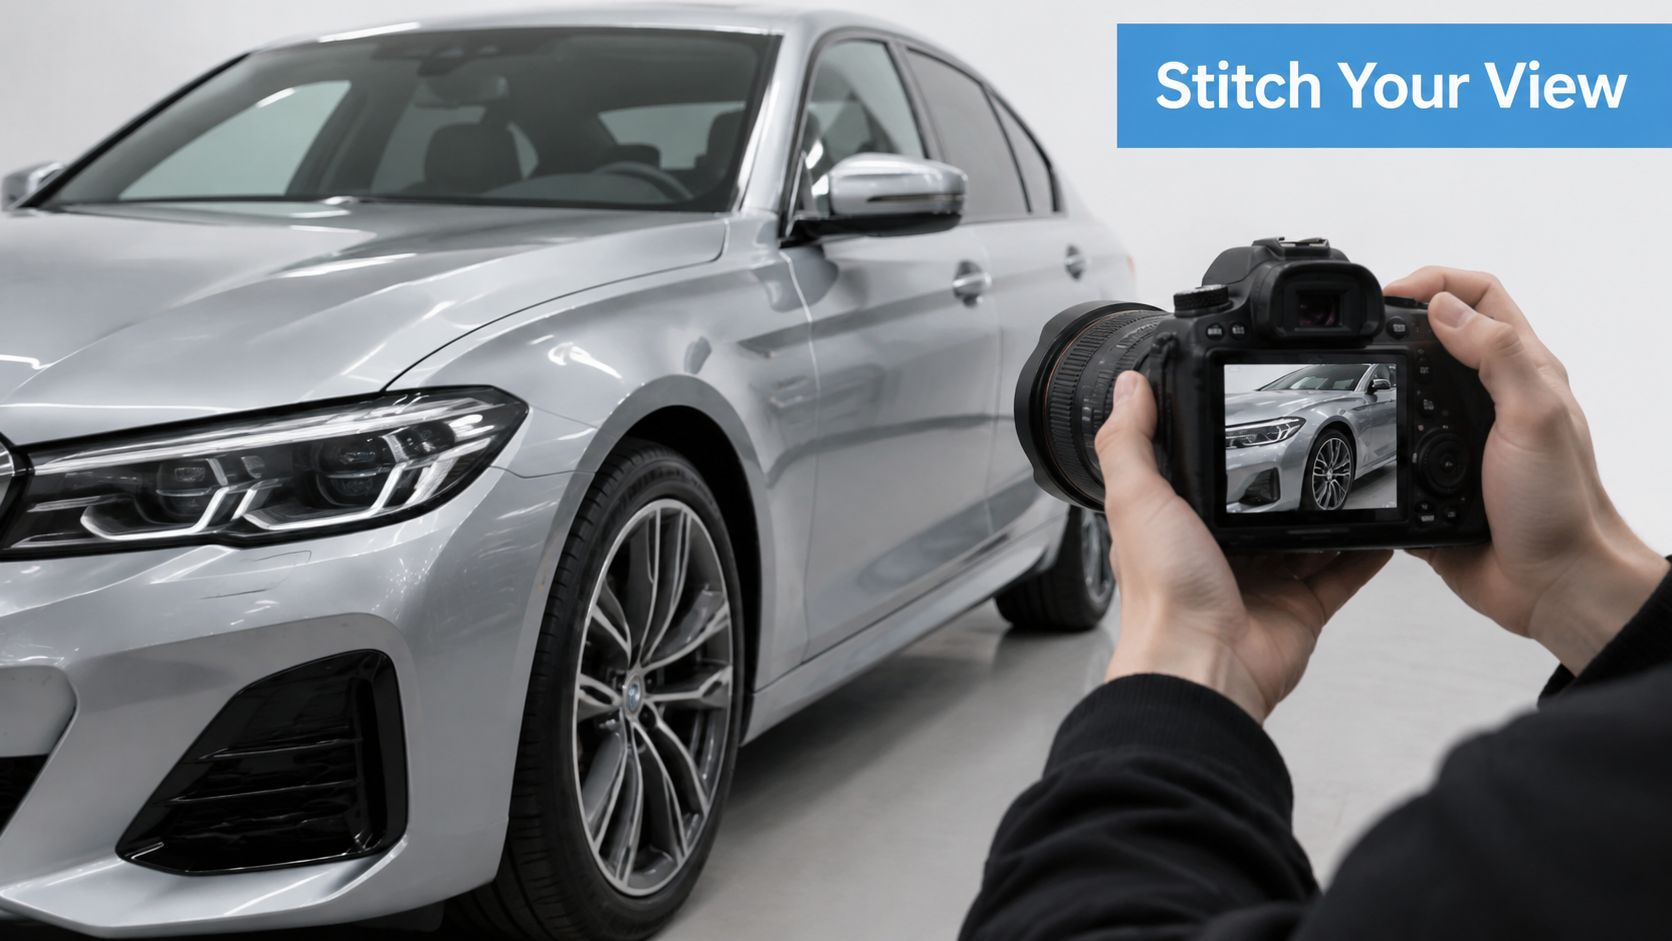
A photo sequence becomes useful only when the software can place each frame in the correct position. The workflow starts with overlap. The photographer moves around the vehicle while maintaining a consistent distance, camera height, and focal length, then captures enough shared visual information for the editor to recognize neighboring frames.
For a small test, five to ten overlapping photographs can provide a starting sequence, although coverage needs vary with the vehicle shape and the intended viewing experience. The camera should stay level, and the photographer should avoid changing from a wide lens to a telephoto lens halfway through the set. A different focal length changes perspective and scale, making registration harder.
A reliable editor sequence
Import and sort the frames. Rename images in capture order and remove accidental shots, people, reflections, or vehicles that move through the background. Clean organization prevents the editor from connecting the wrong neighbors.
Align the images. Let the software identify shared edges, then inspect the hood, roofline, wheels, and mirror areas manually. The body panels provide stronger registration points than blank sky or a plain studio wall.
Correct lens distortion. Wide-angle images bend straight lines near the edges. Apply the appropriate lens profile or manual correction before final stitching, because distortion correction after blending can warp seams that were previously aligned.
Match exposure and white balance. A rotating platform doesn't eliminate lighting changes. Bright reflections on metallic paint can shift between frames, so compare neighboring images and adjust them toward a common brightness and color temperature.
Choose the blend mode. Multiband blending generally handles gradual differences better than simple image concatenation. A seam across a door, wheel, or windscreen remains obvious, so those areas deserve close inspection at full resolution.
Map the panorama. Confirm that the output uses the projection expected by the tour viewer. A correctly stitched image can still appear distorted if the editor maps it as the wrong scene type.
A useful guide to making panoramic photos can help staff understand the relationship between alignment, correction, and blending. The platform's editor should be treated as a finishing environment, not a repair shop for inconsistent capture.
Quality check: Rotate the finished scene slowly around the front corners, side mirrors, wheels, and rear bumper. Those transitions reveal registration errors faster than a quick full-screen spin.
The most common failure is exposure mismatch, followed by moving objects and inconsistent camera height. A bright frame beside a dark frame creates a visible pulse as the shopper rotates. A camera that rises or falls between shots changes the horizon and makes the vehicle appear to bend. Repeating the capture with fixed settings is often faster than trying to disguise a bad sequence in post-production.
Enhancing Views with Hotspots and Info Panels
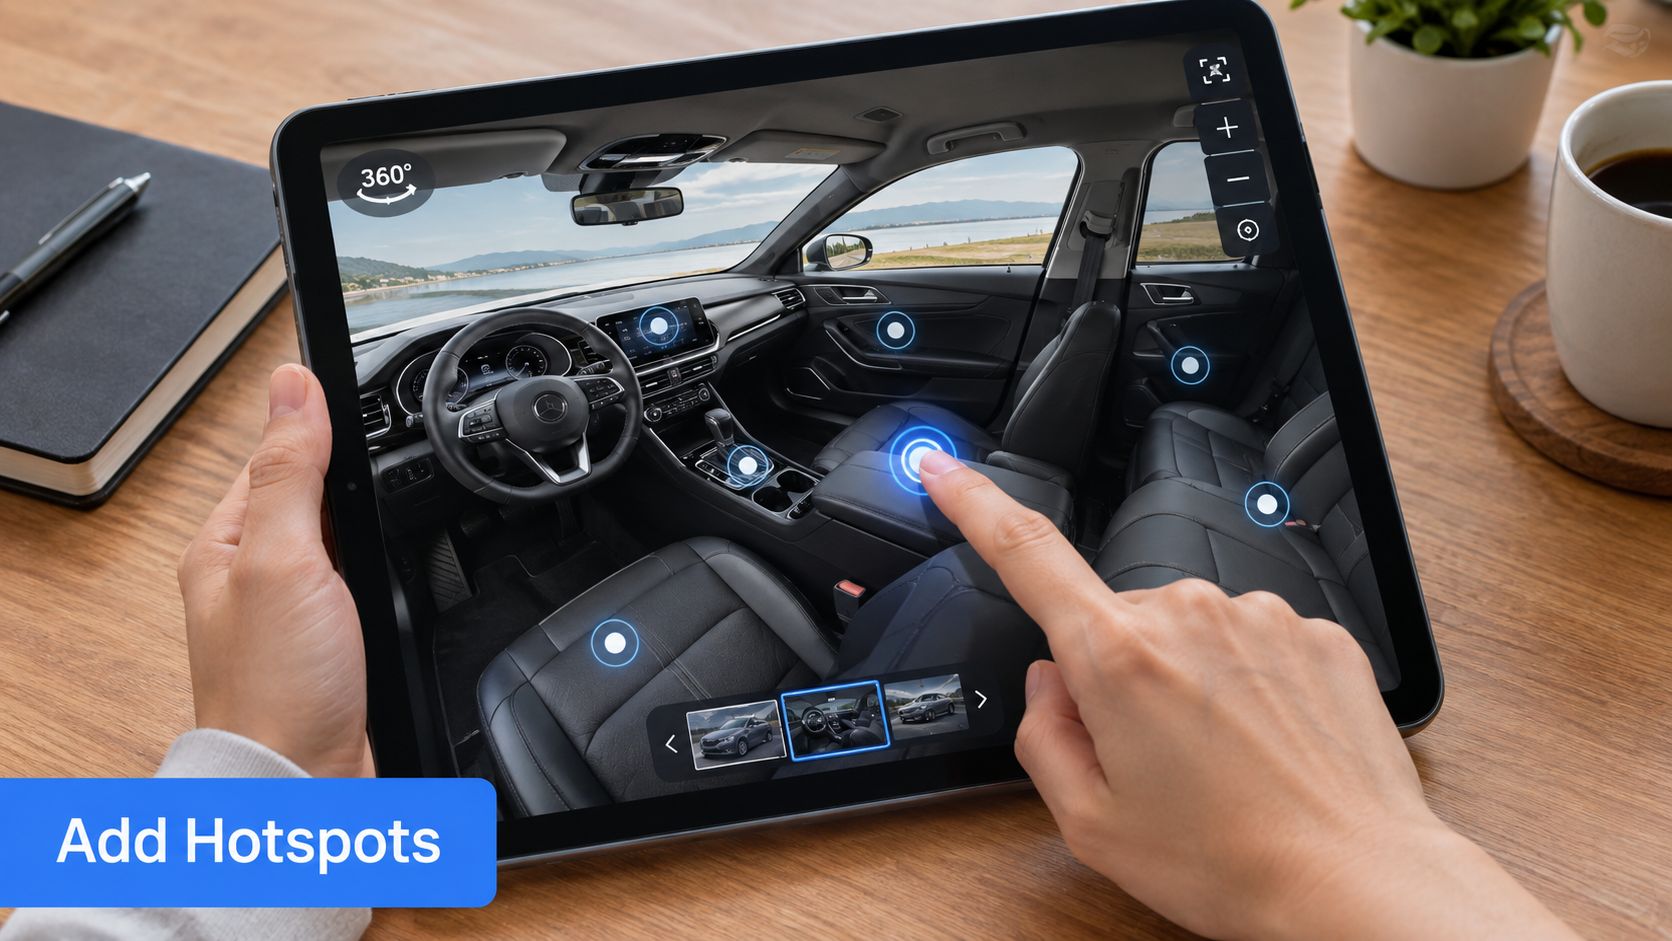
A rotating exterior is only the first layer of a useful vehicle tour. Hotspots give shoppers a reason to stop at specific points, while information panels turn visual inspection into structured product information. They should answer questions that static photography leaves unresolved, not cover the vehicle with labels.
Start with a small set of meaningful targets. On a luxury sedan, suitable points might include the infotainment screen, premium stitching on the seats, and available wheel options. A hotspot near the engine bay can identify the powertrain specification, while one inside the cargo area can explain loading features or included accessories. The copy should remain concise, because shoppers are comparing vehicles rather than reading a brochure.
Building a useful interaction layer
A visual builder such as VirtualTourEasy supports drag-and-drop placement for hotspots and links them to pop-up information panels. The operator selects the scene, positions the marker over the relevant feature, adds a short title, and writes supporting copy. The marker should sit on the actual feature at the default viewing angle, otherwise the shopper may click the wrong area or assume the label is generic.
Good panel copy follows a simple pattern:
- Feature: Name the installed item plainly.
- Evidence: Describe what the shopper can see.
- Relevance: Explain why the feature matters in use.
- Qualification: State when an option, package, or specification requires verification.
For example, an infotainment hotspot can identify the visible screen and controls without claiming software functions that aren't shown. A stitching hotspot can call out the material and contrast detail only if the dealership has confirmed the trim. A wheel hotspot can identify the design while making clear whether the wheels are factory equipment or an aftermarket fitment.
Avoid placing markers wherever empty space appears. Dense clusters make the scene feel like a technical diagram and can obscure the very detail shoppers came to inspect. Interior scenes may need more guidance than exterior scenes because dashboards and controls contain many unfamiliar elements, but each marker should still earn its position.
A practical review involves opening every panel on a phone and checking whether the marker remains anchored while the scene rotates. Long copy, tiny close buttons, and hotspots placed behind interface controls create friction. The final tour should feel like a guided inspection, not a scavenger hunt.
Embedding and Sharing Your 360 Car Views
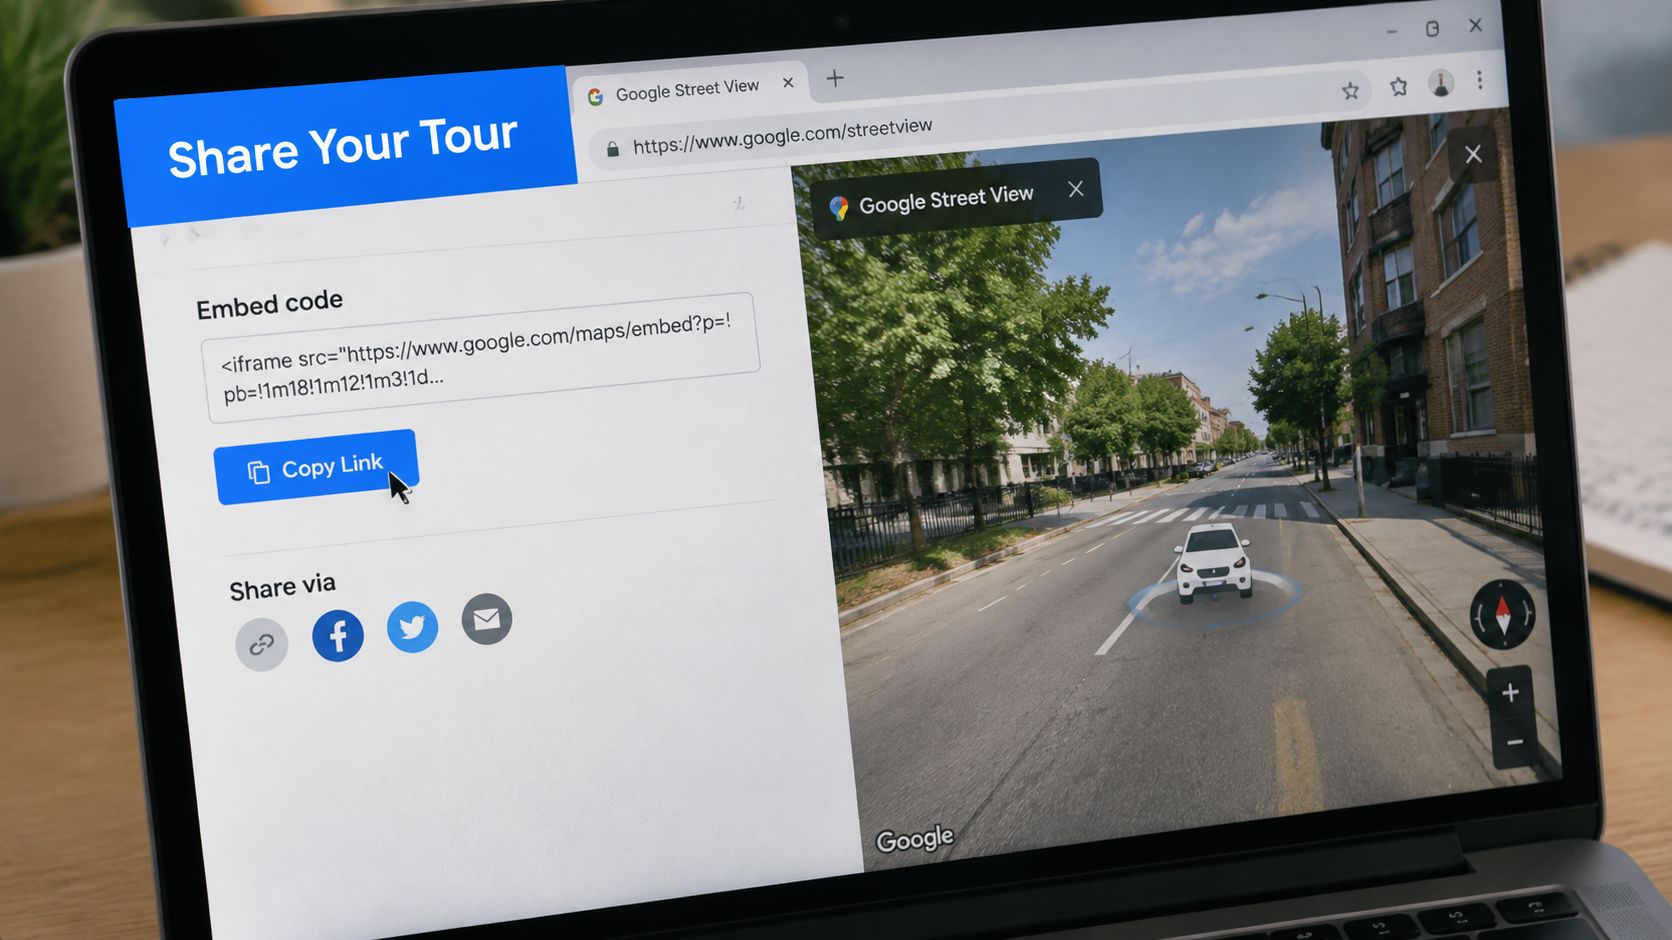
A tour has commercial value only when shoppers can reach it from the places where they already browse. The basic distribution options are a short share link, an embedded player on the dealership website, and publication through Google Street View where that use fits the dealership's location and content strategy.
A short link works well in marketplace messages, salesperson follow-ups, email signatures, and QR codes on a window card. The destination should open on the vehicle's strongest starting view, not on an empty scene or an interior angle that makes the shopper search for the exterior.
Website embedding
A responsive iframe is usually the simplest route for a WordPress, Drupal, or custom dealership page. A generic implementation can look like this:
<div class="tour-frame">
  <iframe src="TOUR_URL" title="Interactive 360 vehicle tour" loading="lazy" allowfullscreen></iframe>
</div>
The surrounding CSS should preserve a useful aspect ratio, keep the player inside the content width, and avoid forcing mobile visitors to pinch and zoom. The dealership's developer can replace TOUR_URL with the platform's generated tour address and add a descriptive title that identifies the vehicle.
Search engines may not interpret every visual element inside an interactive player as ordinary page content. Add a descriptive page title, a useful meta description, visible vehicle details, and structured data that accurately represents the listing. The markup shouldn't claim features that the vehicle doesn't have, and the 360 scene shouldn't replace ordinary photographs of condition-critical areas.
Measuring distribution rather than guessing
Track the tour link separately from the standard listing URL. Analytics can show whether visitors open the view, which device they use, and whether the tour contributes to lead activity. That information helps the dealership decide whether to invest in a rig, improve the capture process, or reserve immersive tours for higher-consideration inventory.
The commercial benchmark is notable. In 2025, dealerships using large-scale 360-degree car-view platforms saw 1.8× more customer inquiries and 2.5× higher listing efficiency, according to the platform announcement reporting those results. AGENCIA's Guinness World Records announcement also reported an online album containing 7,096,049 vehicle images and more than 23.69 million processed vehicles, illustrating the scale at which immersive imaging can become an operational asset.
Those figures aren't a promise for every dealership. They do show why distribution and measurement belong in the workflow, rather than being treated as an afterthought.
Optimizing 360 Views for Web and Mobile
A detailed panorama can become a liability if the player loads slowly on a mobile connection. Dealers should begin with the smallest export that preserves paint, trim, wheel, and interior detail at the viewing size customers receive. Oversized textures consume bandwidth without improving a scene that appears inside a constrained listing column.
Use a two-level delivery strategy. Load a lighter preview or poster image first, then fetch the interactive scene when the shopper reaches it or taps to open it. Lazy loading prevents every vehicle tour lower on a page from competing for network capacity before the visitor has shown interest.
A practical performance checklist
- Compress textures: Export in a web-friendly format and inspect metallic paint, dark interiors, and fine dashboard controls for unwanted artifacts.
- Set a fallback: Provide a regular exterior image or short walkaround video when the device or browser can't run the interactive player smoothly.
- Make the frame responsive: Let the player resize with the viewport instead of fixing it to a desktop width.
- Delay nonessential scenes: Load the exterior first, then offer interior, cargo, or engine scenes as selectable options.
- Test real devices: Use browser developer tools, throttled connections, and a physical phone to check startup time, rotation, hotspot taps, and orientation changes.
The operational ROI gap often appears in overlooked workflow costs, including production setup, processing, storage, publishing, and scale-up tooling. Auto Dealer Today's coverage of consumer demand for richer online video reinforces the broader commercial issue, buyers want richer digital evaluation, but dealerships still need a production plan that fits staff capacity and margin.
For practical delivery techniques, the VirtualTourEasy bandwidth-efficient guide offers a relevant reference point. The dealership should record a simple baseline for each template, then compare the mobile experience after compression and lazy loading. A fast, slightly lighter scene usually serves more shoppers than a flawless high-resolution asset that stalls before it opens.
Tips and Troubleshooting for Flawless 360 Car Views
A reliable troubleshooting process starts at the seam, not at the export button. If a door edge doubles, a wheel shifts, or the roofline bends, check camera height, lens profile, overlap, and registration points before changing output quality. Repeated exposure changes usually require a new capture with locked settings and stable lighting.
Why does the panorama show visible seams? The source frames may have inconsistent geometry or exposure. Re-align the images, apply distortion correction, and use a stronger blending method. Don't concatenate frames directly and expect the viewer to ignore the joins.
Why does the car look stretched?
The scene may use the wrong projection, or the camera's position changed during capture. Confirm the export mapping and retake the sequence with a fixed height and focal length.
Why do hotspots feel distracting?
There are probably too many markers or the labels don't answer a buyer question. Keep only feature, condition, and specification points that support a decision. A clean exterior view with a few relevant anchors is more persuasive than a crowded interface.
Why does the tour fail on some phones?
Check responsive sizing, browser support, lazy-loading behavior, and fallback content. Test touch gestures and hotspot controls on more than one mobile browser before publishing.
Presentation still begins with the vehicle itself. Clean lenses, windows, wheels, and paint before capture, and use a practical detailing reference on achieving a showroom shine when staff need a repeatable preparation routine.
Independent automotive commentary notes that shoppers engage more fully with interactive car content, while many resources fail to connect that engagement to the specific objections a tour reduces. The useful objections are concrete: uncertainty about condition, equipment, angles, and whether the vehicle deserves a closer conversation. A 360 view won't replace a transparent inspection report or a clear walkaround, but it can make the first digital evaluation more informative.
The final checklist is short: capture consistently, verify every stitch, label only confirmed features, load efficiently, publish where shoppers already browse, and track resulting inquiries. That discipline turns 360 car views from a novelty into a repeatable merchandising process.
Virtual Tour Easy lets dealerships create immersive scenes from regular photos, existing 360 images, or AI-assisted inputs, then add hotspots and information panels in a visual builder. Visit Virtual Tour Easy to test a vehicle tour workflow, publish it through share links or embeds, and evaluate whether immersive listings fit the dealership's production capacity.