A relative has just bought a house and wants to show it to family before everyone visits. The address is easy to find, but the useful part is knowing which view shows the roof, which one shows the front of the property, and why the image might not match what's there today. Google Maps can handle all of those checks, provided the searcher understands the difference between a map pin, an aerial image, and Street View.
Google launched Street View in the United States on May 25, 2007, beginning with San Francisco, Las Vegas, Denver, Miami, and New York City. By the end of 2008, coverage had reached major and minor cities across the continental United States, and by May 2017 Google reported more than 10 million miles of imagery across 83 countries (Google Street View coverage history). Today, Google Maps is a mass-market tool, with reporting in 2026 placing it above 2 billion monthly active users worldwide (Google Maps usage statistics).
Table of Contents
- Finding Your House on Google Maps from a Computer
- Finding Your House on the Google Maps Mobile App
- Switching Between Map, Satellite, 3D, and Street View
- Why Your House Might Be Missing or Outdated Imagery
- Requesting Privacy Blurring and Coverage Updates
- Publishing Your Own 360° Tour to Guarantee Fresh Imagery
- Putting It All Together for the Best Result
Finding Your House on Google Maps from a Computer
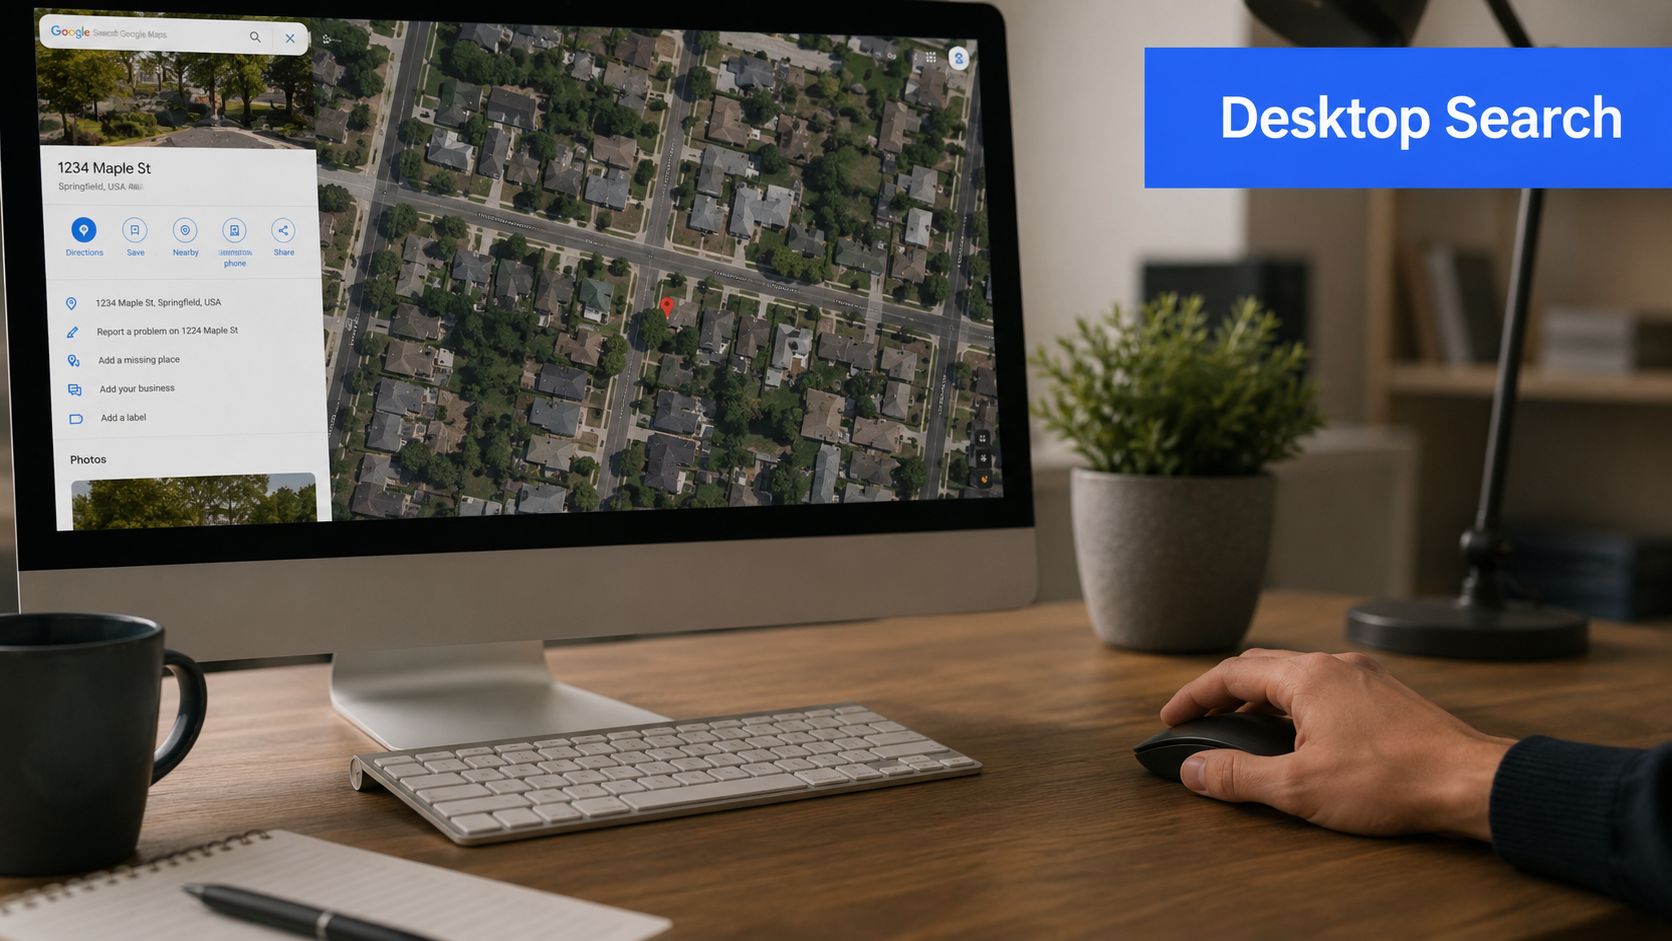
Start with the destination, not the viewing mode. On a computer, open Google Maps and select the search field in the upper-left corner. Type the complete street address, including the city, state or region, and postal code when available, then press Enter.
Google Maps should center the map on the matching location and place a red pin near the property. A small information card usually appears beside the map. Before entering Street View, check the surrounding street names and nearby landmarks. This catches a common mistake, selecting a similarly named street in the wrong town.
Use Satellite to confirm the lot
The default Map layer is excellent for roads and directions, but it won't show the property's physical layout clearly. Select the Layers button, then choose Satellite. On many desktop layouts, the Satellite option appears in the layer controls near the bottom-left of the map.
Satellite view helps identify the roof shape, driveway, yard boundaries, outbuildings, pools, and nearby construction. If the red pin lands a few houses away, drag the map with the mouse to recenter the property. The pin can represent an address entrance or an approximate point rather than the exact center of the building.
Enter Street View
Street View provides the ground-level perspective many users mean when they want to see a house on Google Maps. Find the yellow Pegman icon, usually near the lower-right corner, and drag it onto a road marked with blue coverage lines. Release the icon beside the property, then use the arrows or mouse controls to move along the street and look toward the façade.
Practical rule: Satellite view answers “Where is the house and what surrounds it?” Street View answers “What does the property look like from the road?”
The blue line matters. If it doesn't appear on the road beside the address, Google hasn't indicated Street View coverage at that exact spot. Zoom out and try a nearby blue road instead, because coverage can stop at private drives, gates, or unmapped segments.
Finding Your House on the Google Maps Mobile App
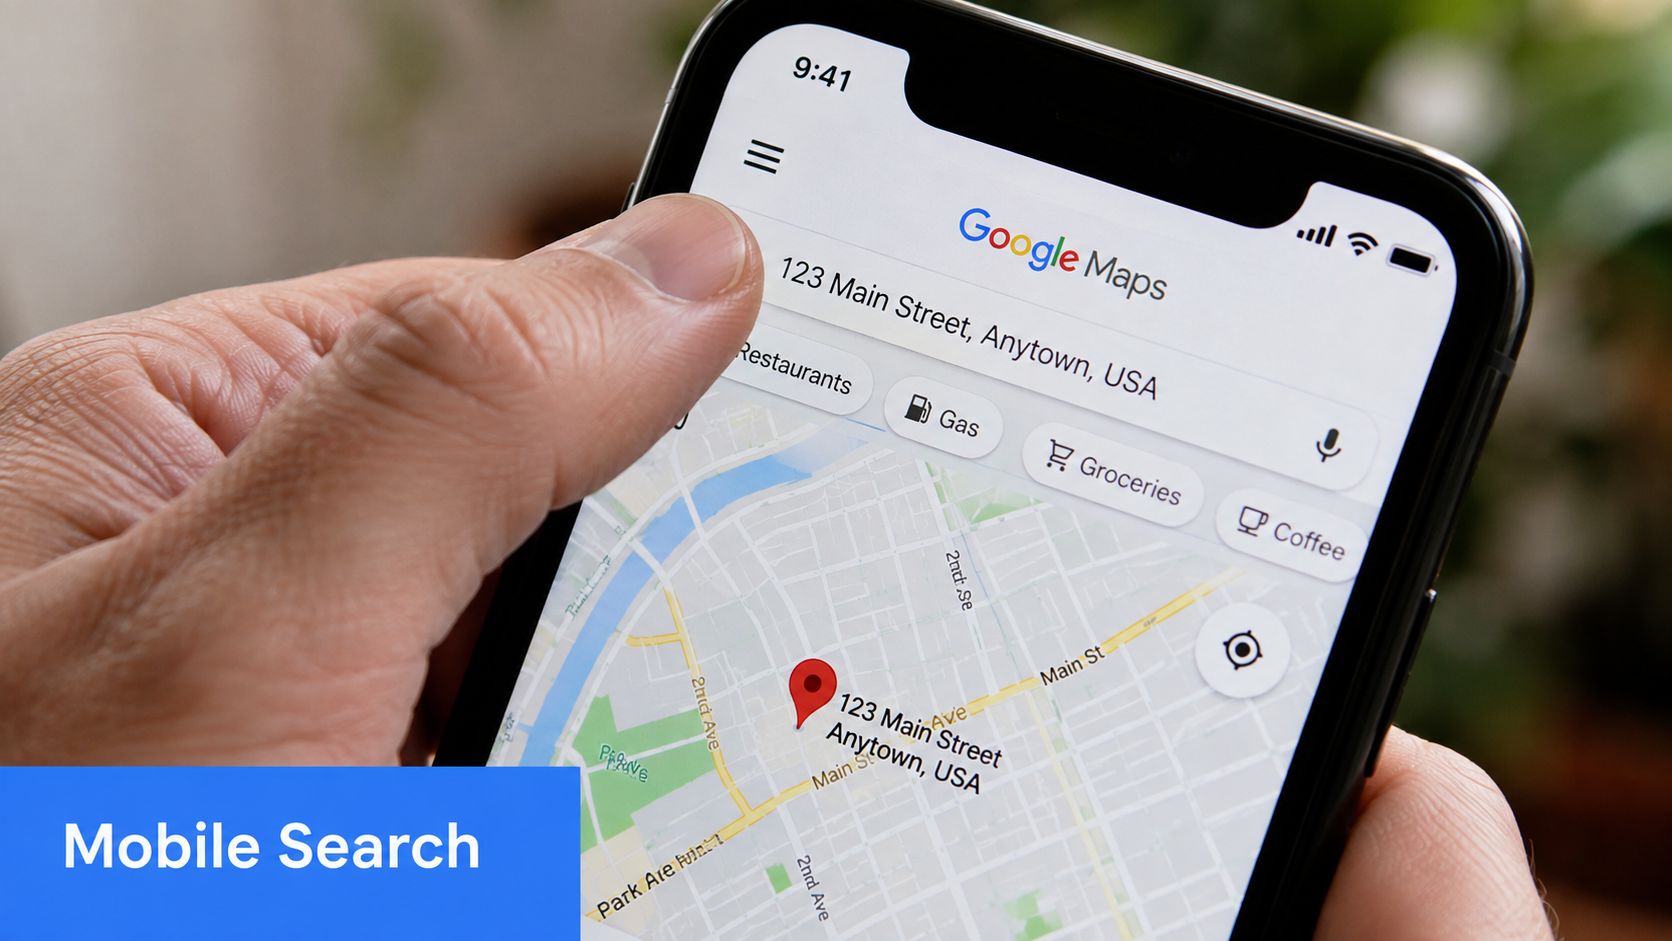
The Google Maps app uses the same destination-first approach on iPhone and Android. Open the app, tap the search bar at the top, and enter the full address. Select the correct suggestion from the dropdown rather than relying on a partial street name. The map should move to the property and place a red pin at or near the address.
Take a moment to verify the result. Nearby road names, businesses, intersections, and the shape of the block can confirm that the app has selected the intended home. This step is especially useful for apartment buildings, rural addresses, and streets with repeated house numbers.
Open the ground-level view
On Android, the Pegman control appears at the top-right when Street View is available through the relevant map controls. Tap it, then drag the coverage marker onto a nearby road. On iPhone, the control may require opening the side panel or tapping the available Street View preview after selecting the location. Google changes small interface details across app versions, so the label or icon can vary.
Once Street View opens, swipe across the screen to rotate the view. The on-screen compass helps orient the scene. Double-tapping the compass resets the view toward north, which makes it easier to compare the front, side, and rear-facing directions around the property.
Mobile viewing works well for a quick check, but the smaller screen can make rooflines, lot edges, and neighboring structures harder to compare. For a detailed inspection, switching between Satellite and Street View on a larger display may be more comfortable.
A missing Pegman option doesn't necessarily mean the address is invalid. It may indicate that the selected road lacks coverage, so zooming out and testing the nearest blue-highlighted road is the sensible next move. Google's coverage depends on collection availability, road access, demand, and operating conditions, rather than a uniform worldwide schedule (Google's Street View coverage documentation).
Switching Between Map, Satellite, 3D, and Street View
The four main views answer different property questions. Treating them as interchangeable is what causes most confusion.
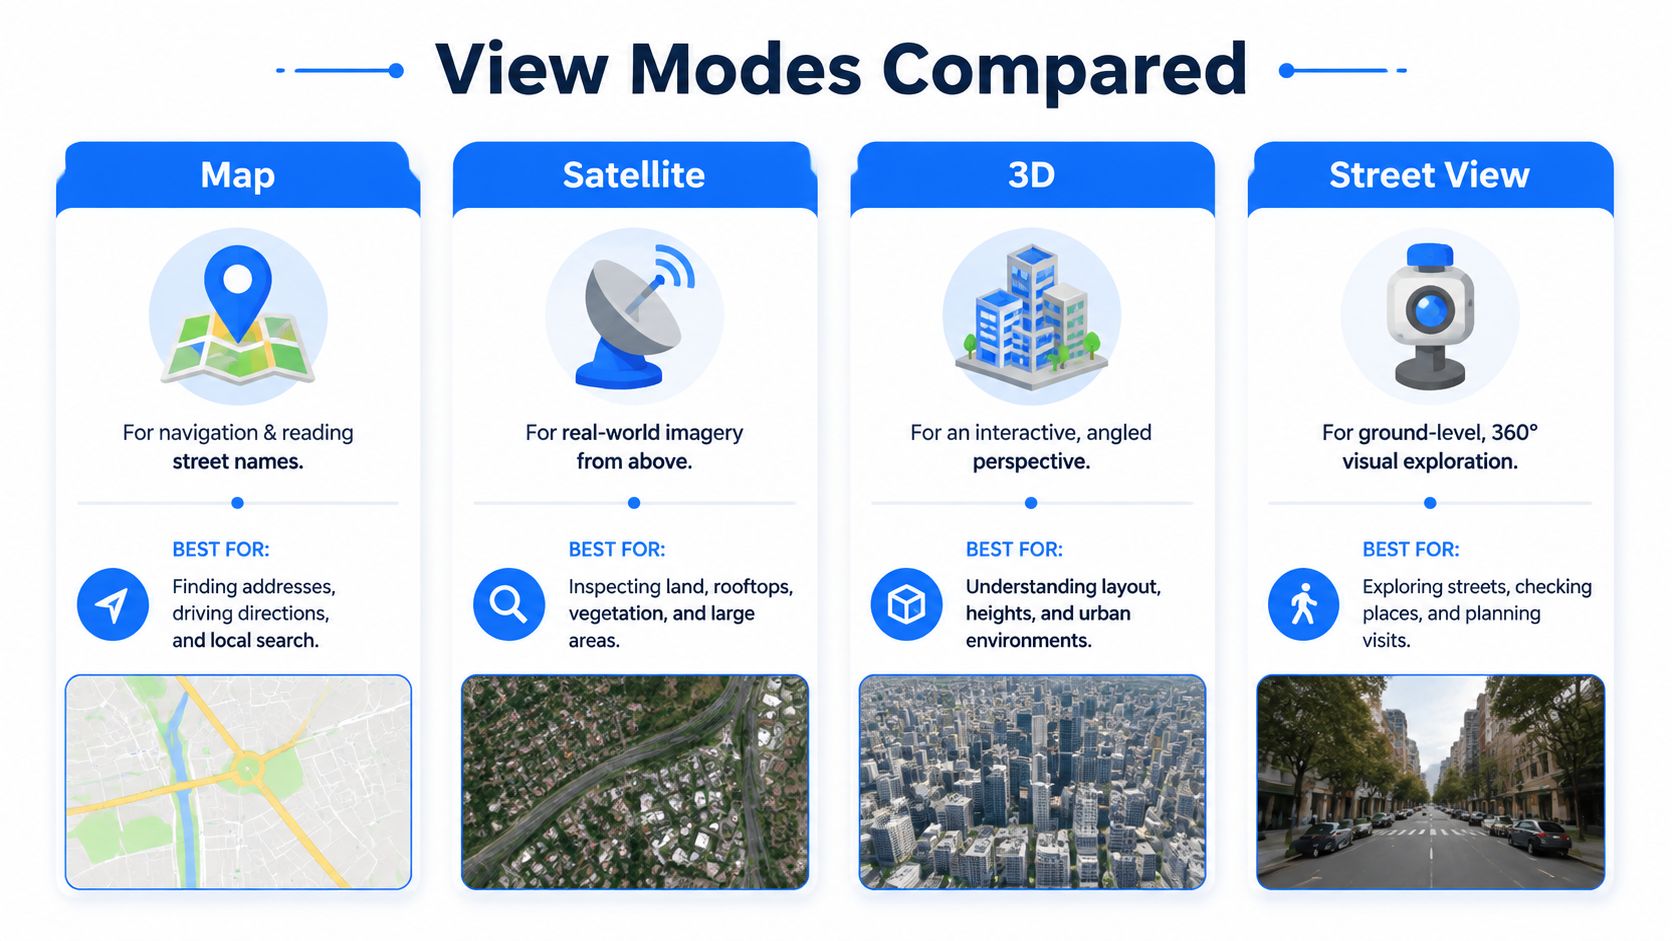
| View | Best for | What it reveals |
|---|---|---|
| Map | Navigation and orientation | Street names, routes, intersections, and nearby places |
| Satellite | Lot and roof context | Building footprint, driveway, yard, vegetation, and surrounding land |
| 3D | Perspective and height | Rooflines, terrain, nearby structures, and visual relationships |
| Street View | Road-level inspection | Façade, curb, entrance, street condition, and visible surroundings |
Map is the address-finding layer
The standard Map view is the clearest choice when the question involves directions. It shows how the property connects to main roads, where the nearest intersection sits, and whether a nearby business or landmark could cause address confusion. It isn't designed to show the exact condition of the building.
Satellite is the overhead inspection layer
Satellite imagery provides a flat, top-down photograph. It's useful for checking the apparent shape of the lot, the roof outline, driveway placement, landscaping, and additions that may be difficult to see from the street. It can also reveal that the red address pin sits near an entrance rather than directly on the house.
3D adds perspective
The 3D option, where available, tilts the aerial layer and gives buildings and terrain more depth. This can help with roof orientation, tree cover, slopes, and the relationship between neighboring structures. 3D isn't available in every region, and its rendering may be less useful for small homes or areas with limited building data.
Street View shows the public-facing scene
Street View is a sequence of ground-level panoramic images captured from accessible roads. It can show the front elevation, visible fences, sidewalks, driveways, and nearby street conditions. It can't provide a private interior view, and a camera position on the road may not face the house directly.
For an efficient inspection, use Map to confirm the address, Satellite to understand the lot, 3D for perspective when available, and Street View for the public-facing exterior. The layers can come from different capture dates, so agreement between them shouldn't be assumed.
Why Your House Might Be Missing or Outdated Imagery
A house can be absent, blurry, or visibly stuck in an earlier stage of its life for several reasons. The address may have been added after the last image capture, the road may be inaccessible, or Google may not have prioritized a new collection pass.
New construction can arrive after the camera
A newly built home may appear in Satellite imagery but not in Street View. If the road was photographed before the building existed, the older panorama won't show the finished façade. New subdivisions can also have incomplete address records or roads that were still being developed during the last collection visit.
Google adds regions based on demand and operational feasibility, so coverage isn't refreshed uniformly. A busy urban street may receive attention sooner than a quiet rural lane, while a private road may never receive standard vehicle-based imagery.
Access limits what Google can capture
Gated communities, private drives, narrow lanes, and remote properties can prevent collection vehicles from reaching the most useful viewpoint. A blue line on the public road may stop before the driveway, leaving the house visible only from a distance or not visible at all.
If Google imagery doesn't show the property, a separate guide to street-level views of homes can help property owners consider other ways to present a current exterior view.
Old imagery doesn't have a guaranteed replacement date
Google doesn't publish a fixed Street View schedule. Independent reporting describes urban areas as often refreshed about every 1 to 3 years, while rural or low-traffic areas can go more than 3 years without new imagery (Street View update frequency explained). Those are broad patterns, not promises for an individual address.
Check any available imagery date before treating the view as current. Construction, landscaping, driveways, and additions can change after the capture. A “Report a problem” option may let a user flag an issue, but submitting feedback doesn't guarantee that Google will send a new camera vehicle.
Requesting Privacy Blurring and Coverage Updates
Google Maps visibility and public exposure aren't the same thing. A homeowner may want to find the house personally while limiting what strangers can inspect, especially when the Street View image reveals a face, vehicle detail, or a sensitive part of the home.
To request a blur, open the Street View image at the address and find Report a problem in the bottom-right corner. Complete the form by identifying the target, such as My home or Face, then position the highlighted box precisely over the relevant area. Add the requested contact details and submit the report.
Before submitting: Review the framing carefully. Google's consumer guidance describes home blurring as a lasting action, so a rushed request can affect future owners and future property presentation.
The request should focus on the specific visible feature that creates the privacy concern. A broad, poorly positioned selection may not communicate what needs attention. Users with wider concerns about photographing private spaces can also review practical guidance on safe data handling for maternity sessions, which offers useful privacy context even outside the property-mapping setting.
Asking for missing coverage
When Street View doesn't exist on a road, use Google Maps feedback tools rather than repeatedly searching the same address. From the main map, open Send feedback and select the option that most closely matches the problem, such as missing road information or missing Street View imagery. Describe the location clearly and explain where the road segment begins and ends.
Coverage requests can inform Google about a missing area, but they don't create a guaranteed capture date. Road access, local permissions, weather, demand, and collection logistics all influence whether a future survey occurs.
Privacy controls should be considered separately from address data. Blurring a Street View image doesn't necessarily remove every map listing, property record, or independently published photograph, so homeowners should review each public result and use the relevant removal process where eligible.
Publishing Your Own 360° Tour to Guarantee Fresh Imagery
Google's road imagery is useful for a quick public-facing check, but homeowners don't control when Google returns to a neighborhood. A self-published 360° tour solves a different problem: it gives the owner control over the images, the sequence, and the date visitors see.
Three practical publishing paths cover most situations.
Direct upload through Google
A compatible 360 camera can capture panoramas and publish them to Google Street View through Google's supported workflow. This keeps the imagery inside Google's ecosystem and can be suitable for a straightforward exterior or property tour. The owner still needs to follow Google's image, location, and publishing requirements.
Work with a specialist
A Google Trusted Photographer can capture the property with professional equipment and publish the results under the photographer's service arrangement. This option reduces the technical burden and can produce a more polished walkthrough, but the owner should confirm who controls the source files, hosting, updates, and final published locations.
Build a hosted tour without specialized equipment
Virtual Tour Easy provides a no-specialized-camera route for assembling a 360° experience from uploaded 360° images, phone-based panorama material, or generated scenes. Its visual builder supports scenes, hotspots, information panels, audio, and custom starting views, with options to share a direct link, embed the tour on a website, and publish through Google Maps. Details about the publishing connection appear in this Google Street View integration guide.
The important distinction is control. A self-published tour can be updated when renovations finish, landscaping changes, or a listing goes live. It can also show the entry, living areas, yard, and other spaces that road-based Street View cannot capture.
That doesn't replace Google's independent view of the street. It complements it with a current presentation owned and managed by the property representative. For sellers, landlords, venues, and agents, the same tour can serve as a shareable marketing asset rather than a one-time map check.
Putting It All Together for the Best Result
The most dependable approach uses three layers. First, search the address in Google Maps and use the built-in Street View for a quick public-road confirmation. Second, use privacy reporting when the available imagery exposes a home or person in a way the owner doesn't want displayed.
Third, publish a separate 360° tour when Google's imagery is stale, missing, inaccessible, or too limited to explain the property. That tour can provide a controlled, current experience while the standard map layers continue to show roads and geographic context.
A short decision checklist keeps the process practical:
- Confirm the address: Check the city, street name, nearby roads, and red pin position.
- Compare views: Use Satellite for the lot, Street View for the façade, and 3D when perspective adds useful context.
- Check freshness: Look for the imagery date before relying on construction or landscaping details.
- Review exposure: Decide whether a home, face, or sensitive feature should be blurred.
- Add controlled imagery: Consider a self-published tour if the property is new, gated, rural, poorly photographed, or difficult to inspect from the road.
Property owners can also combine a tour with Google Maps photo publishing to give viewers more current visual context without waiting for a new road survey.
Virtual Tour Easy lets property owners create and share immersive 360° tours from existing panoramas, phone-based material, or compatible camera images, then embed or distribute those tours through Google Maps and other channels. Visit Virtual Tour Easy to create a current, controlled view of a home when standard Street View is missing or out of date.