A buyer opens a tour of a multi-floor home, lands beside a staircase, and can't tell whether the kitchen is upstairs or behind the camera. A prospective student enters a campus tour through a laboratory and has no idea how it connects to the admissions building. Both visitors need orientation before another panorama.
Maps in VR should answer a visitor's next decision, not decorate the interface. A globe explains the destination's setting. Street-level imagery clarifies the approach. A building overview connects rooms, while floor plans, compasses, hotspots, and site maps support movement through the tour.
The practical challenge is matching those layers to the viewing device and the task. A headset experience isn't interchangeable with a phone-based panoramic tour, and a detailed spatial interface isn't automatically easier to use. Each approach below pairs a visitor question with a repeatable setup step, a realistic use case, and checks that catch navigation problems before publication.
Table of Contents
- 1. Google Earth VR
- 2. Google Street View in VR
- 3. Matterport Dollhouse View and 3D Showcase
- 4. Interactive Floor-Plan Mini-Maps in 360° Tours
- 5. Compass and Heading Indicators in 360° Scenes
- 6. Hotspot-Based Scene Navigation Maps
- 7. Campus and Venue Wayfinding Maps in VR
- How the seven map approaches compare for VR and 360° tours
- Match the Map to the First Question Your Visitor Asks
1. Google Earth VR
Visitor decision: Where is this place, and what surrounds it?
Google Earth VR turns geographic context into an explorable globe. It suits destination previews, terrain exploration, and geography lessons better than room-by-room property inspection. For a hillside hotel, an Earth-scale overview can establish the relationship between the town, coastline, and surrounding countryside before guests inspect the accommodation.
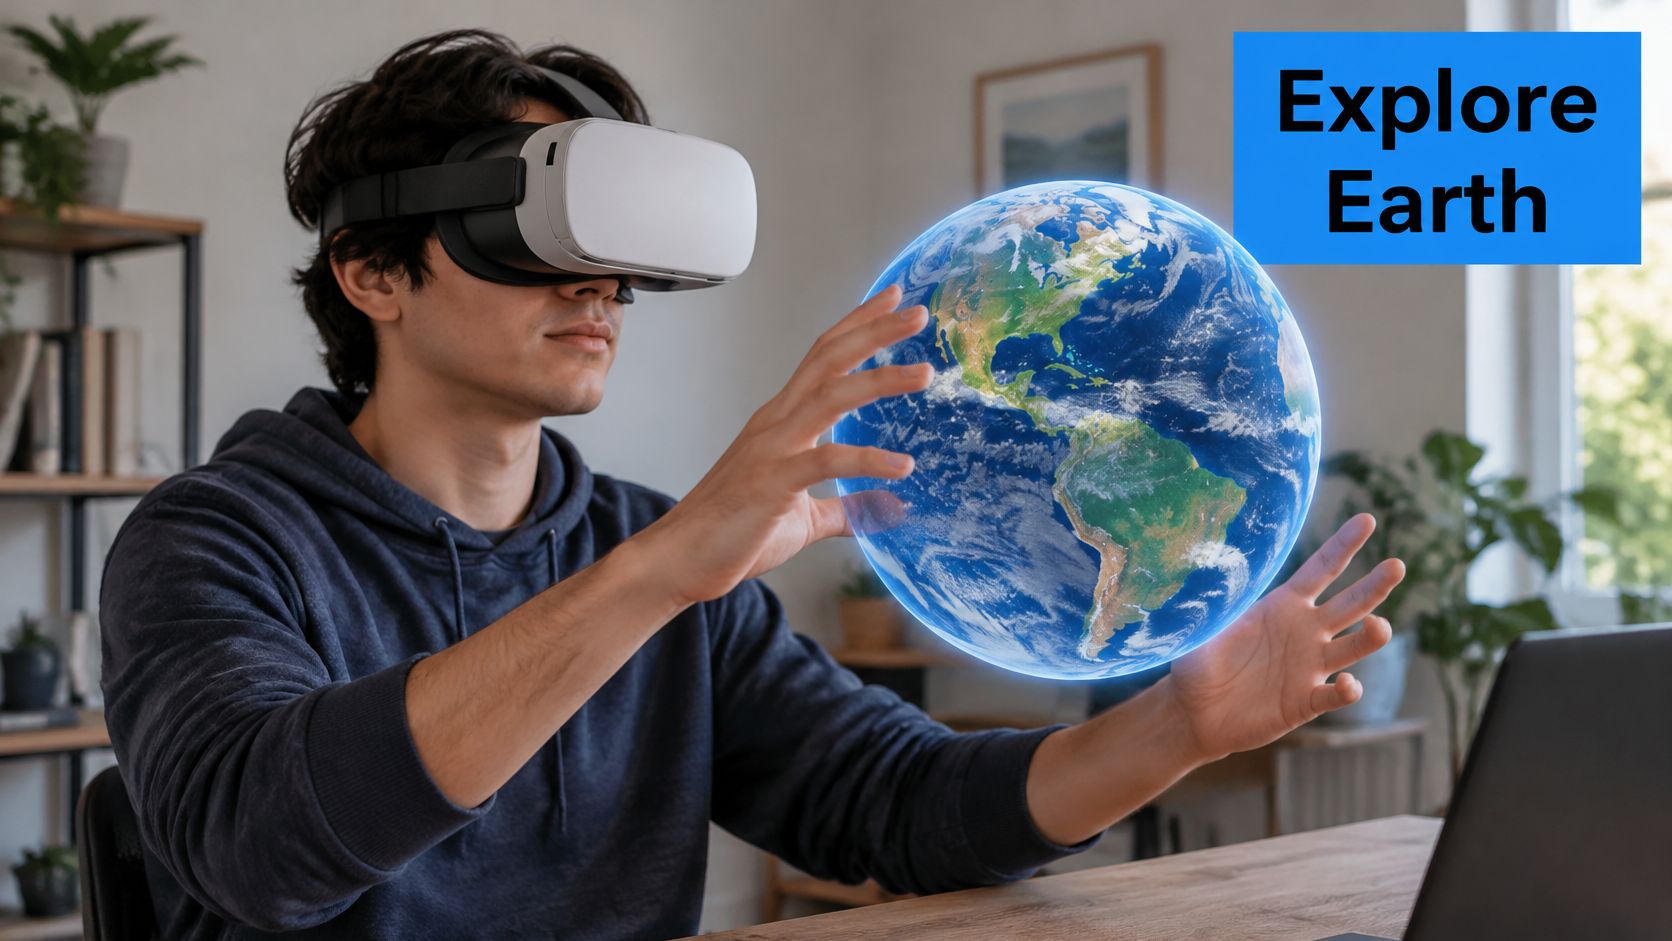
The external viewpoint has a practical basis, although it isn't a product-specific endorsement. A controlled geographic-visualization study published in Computer Graphics Forum found that an exocentric globe supported faster and more accurate direction estimation than the other tested presentations, while flat and curved maps were faster for area comparisons.
Build the destination-to-property handoff
Prepare a destination overview around recognizable anchors, such as the station, waterfront, or university district. Then provide a clearly labeled route into the property's separate interior tour. Don't imply that an external globe and an interior viewer form a continuous experience unless that transition has been implemented.
The fragile setup step is the handoff. A visitor shouldn't have to search again for the property after leaving the geographic overview.
- Location check: Confirm the intended building, not merely its postcode or neighborhood.
- Context check: Select landmarks relevant to the stay or viewing, rather than filling the presentation with unrelated attractions.
- Device check: Test the actual headset setup and provide a conventional map or browser alternative.
- Transition check: Open the interior tour at a recognizable entrance, with the property name visible.
The globe supplies context. It shouldn't substitute for verified access instructions, interior photography, or a usable floor plan.
2. Google Street View in VR
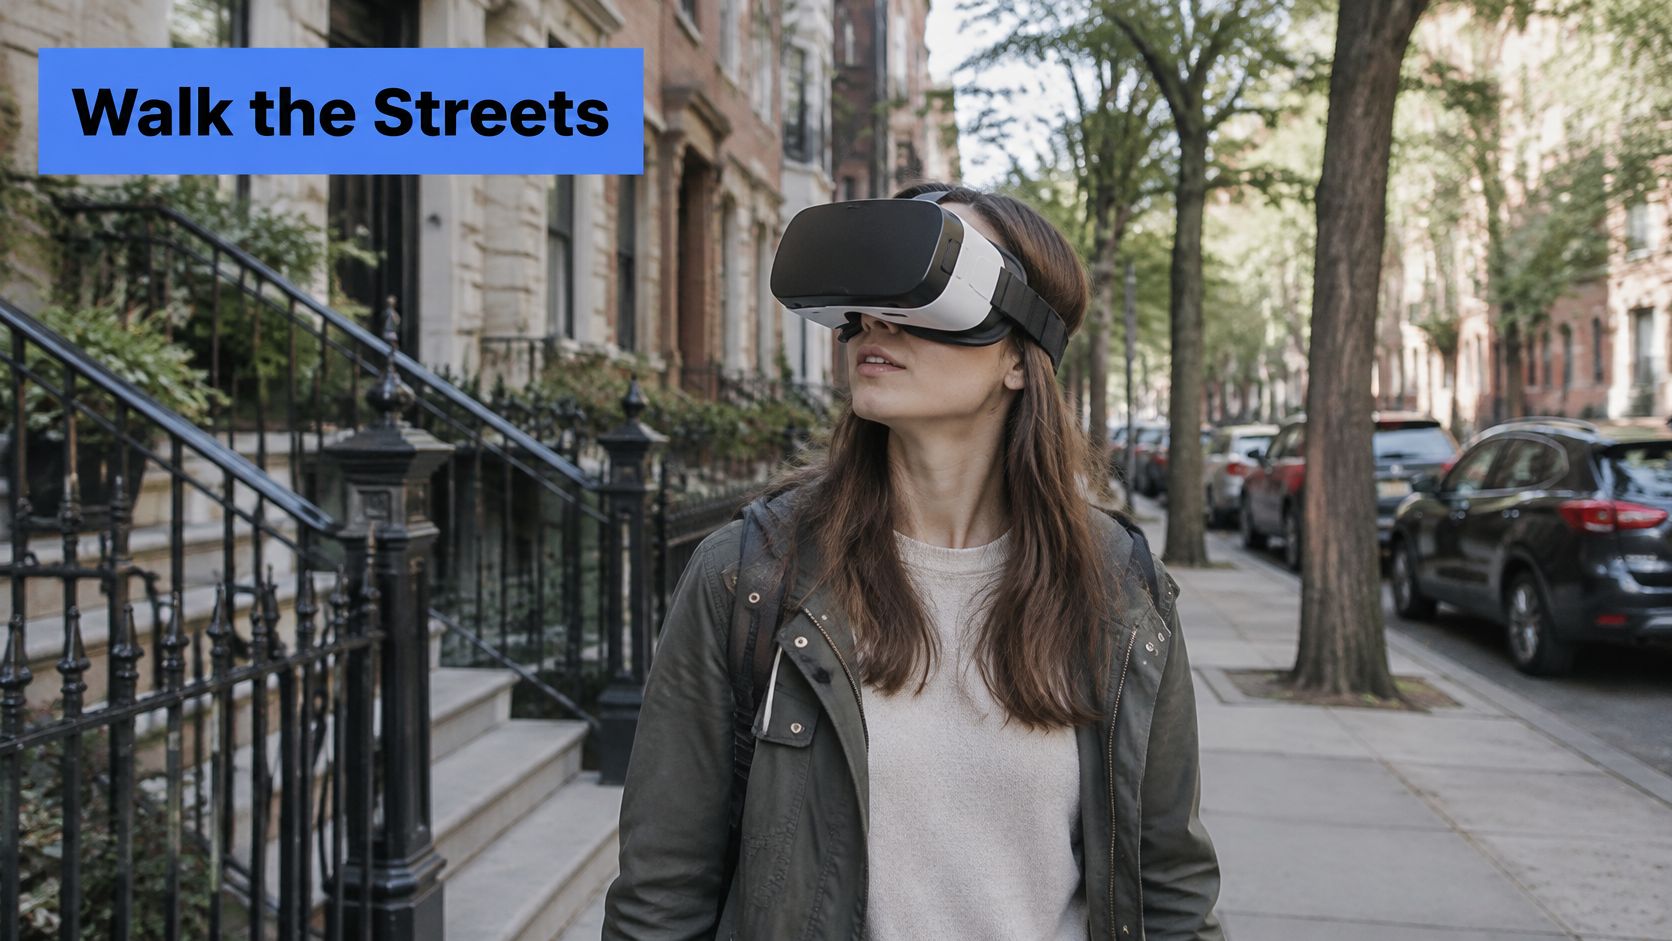
A hotel guest may recognize the building yet still miss its entrance. Street-level panoramas answer a different question from a globe: What will arrival look like?
Google Street View provides panoramic surroundings that can support immersive viewing where the selected device and viewer allow it. Treat headset compatibility as a publishing check, not an assumption. A working desktop panorama doesn't establish that the same navigation will work comfortably inside a headset.
Build around the arrival decision
For a restaurant with a side entrance, begin with the approach from the pavement, identify the entrance explicitly, and connect that context to the interior tour. The Google Street View integration guide provides a relevant starting point for planning the publishing connection.
The step most likely to break is matching the imagery to the current entrance. Older surroundings, an adjacent doorway, or a service entrance can make a polished preview misleading.
- Arrival check: Confirm signage, entrance position, and the intended pedestrian approach.
- Listing check: Keep business details accurate without assuming that listing edits refresh panoramic imagery.
- Handoff check: Give the interior-tour destination a descriptive label.
- Accessibility check: Add text and audio descriptions of arrival landmarks rather than relying entirely on visual recognition.
Accessibility needs its own navigation layer. An ACM study of accessible panoramic exploration describes barriers conventional streetscape interfaces present to blind users and explores multimodal descriptions and accessible controls.
A panorama can show an entrance without explaining how someone should reach it.
3. Matterport Dollhouse View and 3D Showcase
A building overview answers how the rooms fit together. Matterport's Dollhouse view presents an interior as a rotatable miniature, while its room-level showcase supports closer inspection. For a multi-floor home or commercial lease, the useful decision is whether the arrangement suits the visitor's needs.
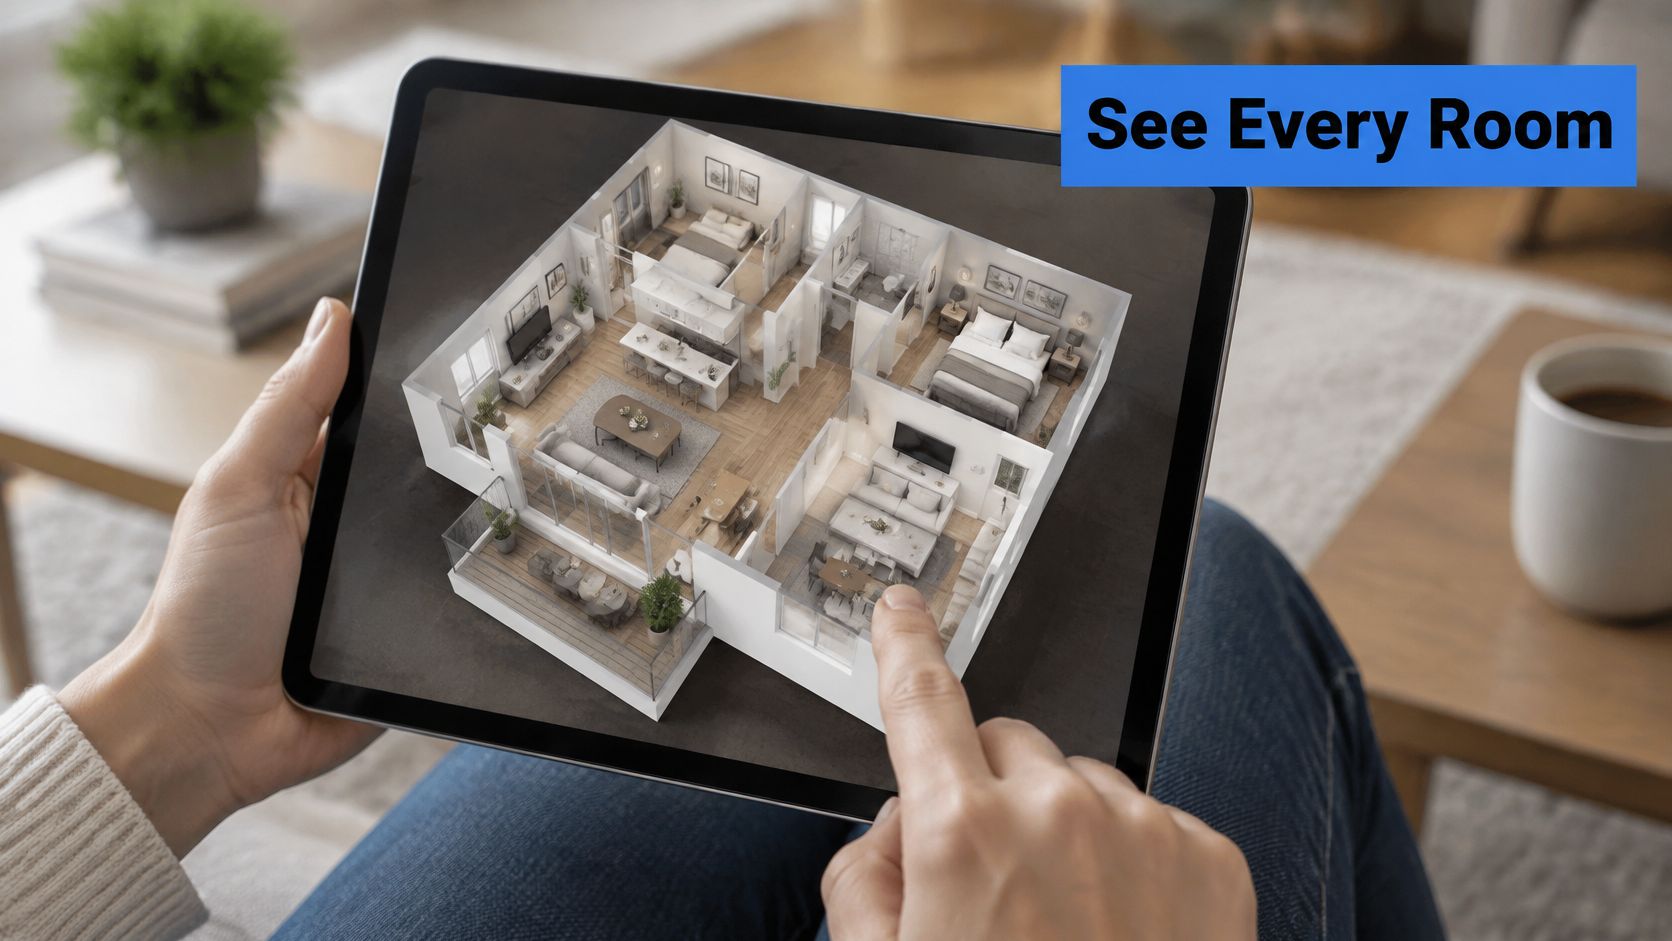
A miniature overview can help a buyer distinguish an adjoining bedroom from a room reached through a corridor. It's less useful when incomplete capture, furniture clutter, or an awkward viewing angle makes the model difficult to interpret. Headset access should also be tested in the intended delivery environment rather than inferred from browser availability.
Build an overview that leads somewhere
Capture connecting spaces carefully, inspect the reconstructed model, and set an initial overview that makes the building understandable. Label important destinations using the same room names throughout the presentation.
The value of advance orientation extends beyond a particular platform. A virtual-navigation experiment published through PubMed Central found that viewing a map before navigation improved aspects of pointing and path drawing, without a significant difference in route-retracing performance.
The fragile step is connecting floors and corridors accurately. A visually impressive model won't repair a missing landing or a confusing room transition.
- Capture check: Include doorways, corridors, stairs, and other connections.
- Overview check: Make floor boundaries and circulation legible.
- Navigation check: Ensure selecting a room leads to an appropriate scene.
- Fallback check: Provide a simpler floor-plan or scene-list option when the miniature is difficult to manipulate.
The Matterport alternatives guide can support a workflow comparison when a navigable panorama tour would meet the brief without a reconstructed building model.
4. Interactive Floor-Plan Mini-Maps in 360° Tours
Visitor decision: Where is the current room, and which room should come next?
An interactive floor-plan mini-map pairs a simplified plan with scene markers. A current-position indicator identifies the active panorama, while a viewing cone can show the direction the visitor is facing. For an apartment tour, this lets a buyer move from the living room to the bedroom without tracing every corridor.
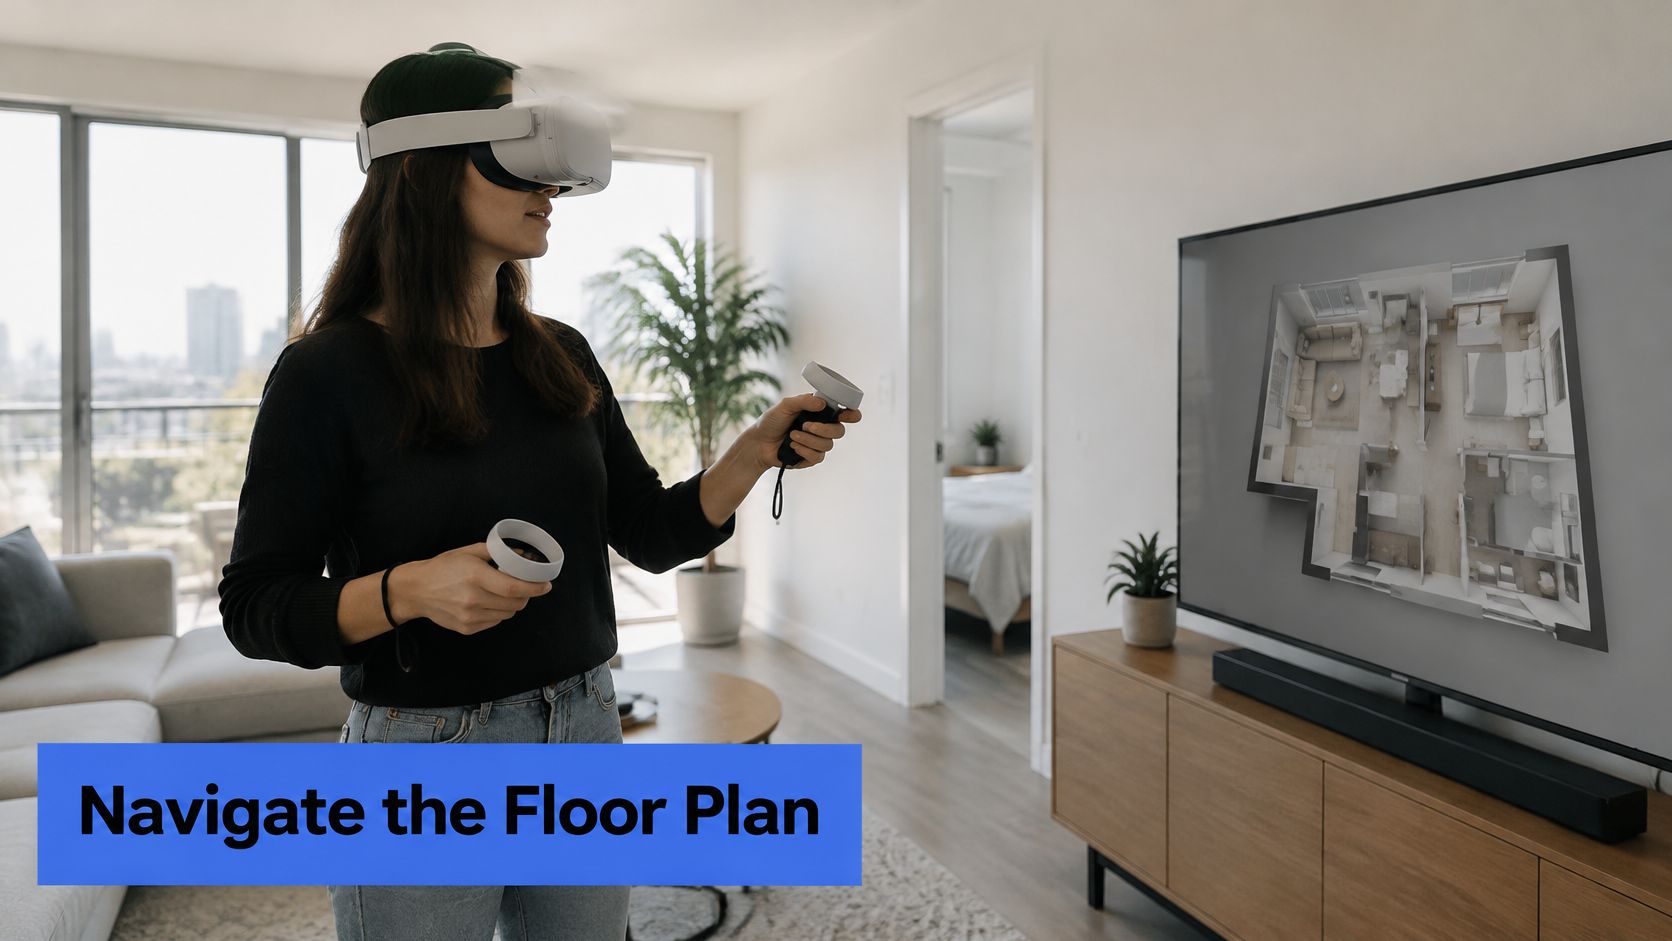
Don't assume a persistent mini-map is always the comfortable choice. A Cartography and Geographic Information Science article on VR navigation describes trade-offs involving environmental complexity, workload, and navigation support. The practical response is to test map visibility and clutter rather than treating an overlay as an automatic improvement.
Register scenes to the plan
Start with a clean plan showing room boundaries, doors, stairs, and useful labels. Place each scene marker at its capture position, assign its destination, and calibrate its viewing direction.
Marker placement and heading alignment are the critical setup steps. A marker in the correct room can still mislead visitors if its arrow points through the wrong wall.
- Position check: Put markers where the camera stood, not at convenient decorative positions.
- Floor check: Switch the displayed floor when the active scene changes.
- Touch check: Test marker spacing and label readability on a phone.
- Comfort check: Let visitors collapse the map and reopen it without losing their place.
Practical rule: Keep the default plan simple enough to understand without zooming. Put secondary detail behind deliberate interaction.
Use measured plans for dimensional decisions. A navigation overlay shouldn't imply measurement accuracy unless that accuracy has been established.
5. Compass and Heading Indicators in 360° Scenes
A visitor rotates inside a courtyard, then opens another scene facing the opposite direction. Without a reference, the apparent location of the entrance changes. A heading indicator helps answer which way the visitor is facing, not where the visitor is standing.
A compass suits outdoor venues, campuses, and properties where directional orientation matters. In an enclosed apartment, a plainly labeled route back to the entrance may be more useful than a prominent north arrow.
Calibrate before adding polish
Choose a reliable reference direction for every panorama, then set the scene's north offset in the editing workflow. Configure a useful starting view separately. Facing the main attraction and facing north are different requirements.
A Frontiers in Virtual Reality navigation study found that combining position, compass, landmark, and street-name cues improved spatial knowledge without increasing cognitive load on its detection-response measure. That supports combining complementary cues, rather than expecting a compass alone to explain the site.
For an outdoor wedding venue, the starting view might face the ceremony area while the compass preserves orientation toward parking and reception spaces. Labels should identify those destinations directly.
- North check: Verify orientation across scenes against the same reference.
- Rotation check: Confirm that the indicator responds correctly as the visitor turns.
- Transition check: Review heading after every scene jump, especially across doorways.
- Language check: Avoid instructions such as turn left when the visitor can freely rotate away from the intended view.
The common failure is copying a heading offset between panoramas with different image orientations. Calibrate each scene individually, then test the route continuously rather than checking isolated scenes.
A compass should remain a quiet reference. If visitors must interpret it before every move, the route labels need improvement.
6. Hotspot-Based Scene Navigation Maps
Which room is next? A directional hotspot can answer that question directly inside the panorama. Unlike a floor plan, it places the navigation choice beside the doorway or path the visitor already sees.
For a restaurant tour, a clear route might connect the entrance, main dining room, private dining area, and terrace. A school tour might branch from reception toward classrooms, laboratories, and common spaces. These connections form a route map even when no conventional map is visible.
Build the route graph before placing arrows
Create a scene list and record which spaces connect physically. Assign descriptive scene names, then place navigation hotspots at natural decision points. Use different icon treatments for movement and information so a menu panel doesn't look like a doorway.
The setup step that breaks the experience is the destination's starting view. A correctly linked hotspot can still disorient visitors if the next panorama opens facing backward.
- Connection check: Link physically adjacent spaces unless a shortcut is explicitly labeled.
- Arrival check: Set the destination view to preserve the apparent direction of travel.
- Return check: Provide an obvious way back from each branch.
- Destination check: Name the room or facility instead of relying on an unexplained arrow.
Route hotspots should describe movement. Information hotspots should explain the space. Mixing those jobs makes every click uncertain.
For an event venue, a jump from the lobby to a distant ballroom can be useful, but it should read as a destination shortcut rather than an adjacent doorway. That distinction helps visitors understand the building instead of merely following clickable symbols.
Test the finished route with the map hidden. If the hotspot sequence is incomprehensible without an overlay, fix the connections before adding more interface elements.
7. Campus and Venue Wayfinding Maps in VR
A prospective student doesn't necessarily want to inspect every building. The immediate question may be whether admissions, accommodation, and the teaching department are conveniently connected. Campus and venue maps support destination choice across a larger site.
Combine a site overview with building entrances, floor-level navigation, and labeled facilities. A conference attendee should be able to identify the correct hall without exploring unrelated exhibitor areas first. A family planning a campus visit should be able to follow an arrival route rather than start inside an arbitrary classroom.
Build a destination hierarchy
Begin with the main arrival point and the destinations most relevant to the visit. Group scenes by building and floor, then connect those groups through recognizable entrances. The virtual campus tour software guide can help institutions assess how scene navigation fits their publishing workflow.
The fragile step is keeping destination names and access details consistent. A map labeled Student Services won't help if the scene menu uses an unfamiliar building abbreviation.
- Naming check: Match signs, map labels, scene titles, and information panels.
- Route check: Verify entrances, inter-building connections, and public access.
- Accessibility check: Identify confirmed step-free approaches, accessible entrances, and lift connections.
- Maintenance check: Assign responsibility for changes to rooms, routes, and access restrictions.
Accessibility information should describe verified conditions, not inferred ones. A ramp visible in a panorama doesn't establish that the entire route is step-free or that the entrance is available during the planned visit.
Offer a searchable destination list and descriptive route instructions alongside the visual map. For visitors who can't use a dense spatial interface, those alternatives can provide a more direct route to the information needed.
How the seven map approaches compare for VR and 360° tours
| Item | Best for | Capture or setup needed | VR support | Main limitation |
|---|---|---|---|---|
| Google Earth VR | Exploring cities, landmarks, and terrain at scale | No custom capture; requires a capable PC and tethered headset | Yes, with compatible PC headsets | Imagery can be outdated or uneven in detail |
| Google Street View in VR | Previewing streets and property surroundings | No custom capture; relies on available Street View imagery | Yes, on compatible viewers and devices | Coverage and image freshness vary |
| Matterport Dollhouse View and 3D Showcase | Showing building layouts and room connections | 3D property capture with equipment or a service provider | Yes, on compatible headsets | Capture and subscription costs can be high |
| Interactive Floor-Plan Mini-Maps in 360° Tours | Navigating rooms and floors in a property tour | An accurate floor plan and linked scene markers | Depends on the tour platform | Plans need updating when layouts change |
| Compass and Heading Indicators in 360° Scenes | Keeping visitors oriented in large spaces | Correct orientation settings during capture or editing | Platform-dependent | Incorrect orientation makes the indicator unreliable |
| Hotspot-Based Scene Navigation Maps | Guiding visitors between connected 360° scenes | Tour scenes and manually placed navigation hotspots | Platform-dependent | Poorly planned hotspots can confuse visitors |
| Campus and Venue Wayfinding Maps in VR | Previewing routes and facilities across large sites | Site maps, linked floor plans, 360° scenes, and maintained information | Virtual-tour support; headset compatibility depends on the platform | Large sites take significant effort to capture and maintain |
Match the Map to the First Question Your Visitor Asks
The best starting point isn't the most elaborate map. It's the question that prevents the visitor from making progress.
Travelers need city-scale context. Guests need to recognize the approach and entrance. Buyers and tenants need to understand room relationships. Visitors exploring campuses or venues need destinations, connections, and reliable access information. A tour may need several map types, but each should perform a distinct job.
Immersion shouldn't be mistaken for speed. In a controlled VR and desktop map-use experiment, mean task response time was 88.68 seconds on desktop versus 124.05 seconds in VR. That finding doesn't rule out immersive exploration; it supports retaining a straightforward browser option for visitors who need quick comparisons.
Follow a practical build order
Define the visitor's first question before choosing the interface. Then capture or source scenes that show the relevant spaces and connections. For real-property decisions, use faithful imagery and clearly distinguish illustrative content from documented conditions.
- Establish the route: Place navigation hotspots at doorways, paths, and other recognizable decision points.
- Set arrival views: Make each transition open toward a useful destination rather than an arbitrary camera heading.
- Add orientation: Calibrate headings, scene names, position markers, and floor selection.
- Add the right map: Choose a globe, street approach, building overview, floor plan, or site map according to the unanswered question.
- Test visitor tasks: Ask a tester to find a room, return to the entrance, and explain how important spaces connect.
Record wrong turns, hesitation, missed destinations, and discomfort. Check the intended headset, phone, and desktop experience separately. A beautiful map that visitors repeatedly close or misread needs simplification, not more detail.
For assembling the tour, every Virtual Tour Easy plan includes the full 360° builder, viewer, unlimited visits, and embedding anywhere. Published tours can also be shared by link, helping producers place the experience where visitors already look for property, hospitality, or campus information.
Virtual Tour Easy offers a visual builder for assembling panoramas, connecting scenes with hotspots, adding information panels, and setting starting views. Tour producers can visit Virtual Tour Easy to build an arrival-to-destination route, then test whether its navigation answers the visitor's first question.