A solid image upload example can turn basic room photos into a walkable 360° scene without much technical hassle. VirtualTourEasy lets you feed in text prompts, regular snapshots, or native 360 captures, so you can match the workflow to whatever gear you have on hand.
Table of Contents
- What a Good Upload Flow Actually Looks Like
- Three Upload Paths Compared
- Pick the Right Starting Point
- Make Files Easy to Identify
- Build the Tour Around Visitor Intent
- Measure, Test, and Publish Carefully
- Check the First Panorama Carefully
- Adjust the View and Iterate
- Catch Problems Before Publishing
- Test Every Visitor Path
- Can a Phone Camera Work?
- How Long Does Conversion Take?
- What If a Hotspot Fails?
- Will Buyers Use the Tour?
- Turning Views Into Useful Data
What a Good Upload Flow Actually Looks Like
A real estate agent snaps a few phone photos of a living room during a listing visit. She uploads them straight to VirtualTourEasy, checks the generated panorama, drops in a couple of hotspots, and sets the default viewing angle before she even leaves the house.
Three paths cover most situations:
- Text prompt: Generate a scene from scratch when no photos exist.
- Regular photo upload: Convert standard phone images into 360° panoramas.
- Native 360 upload: Bring in panoramas shot with a compatible camera.
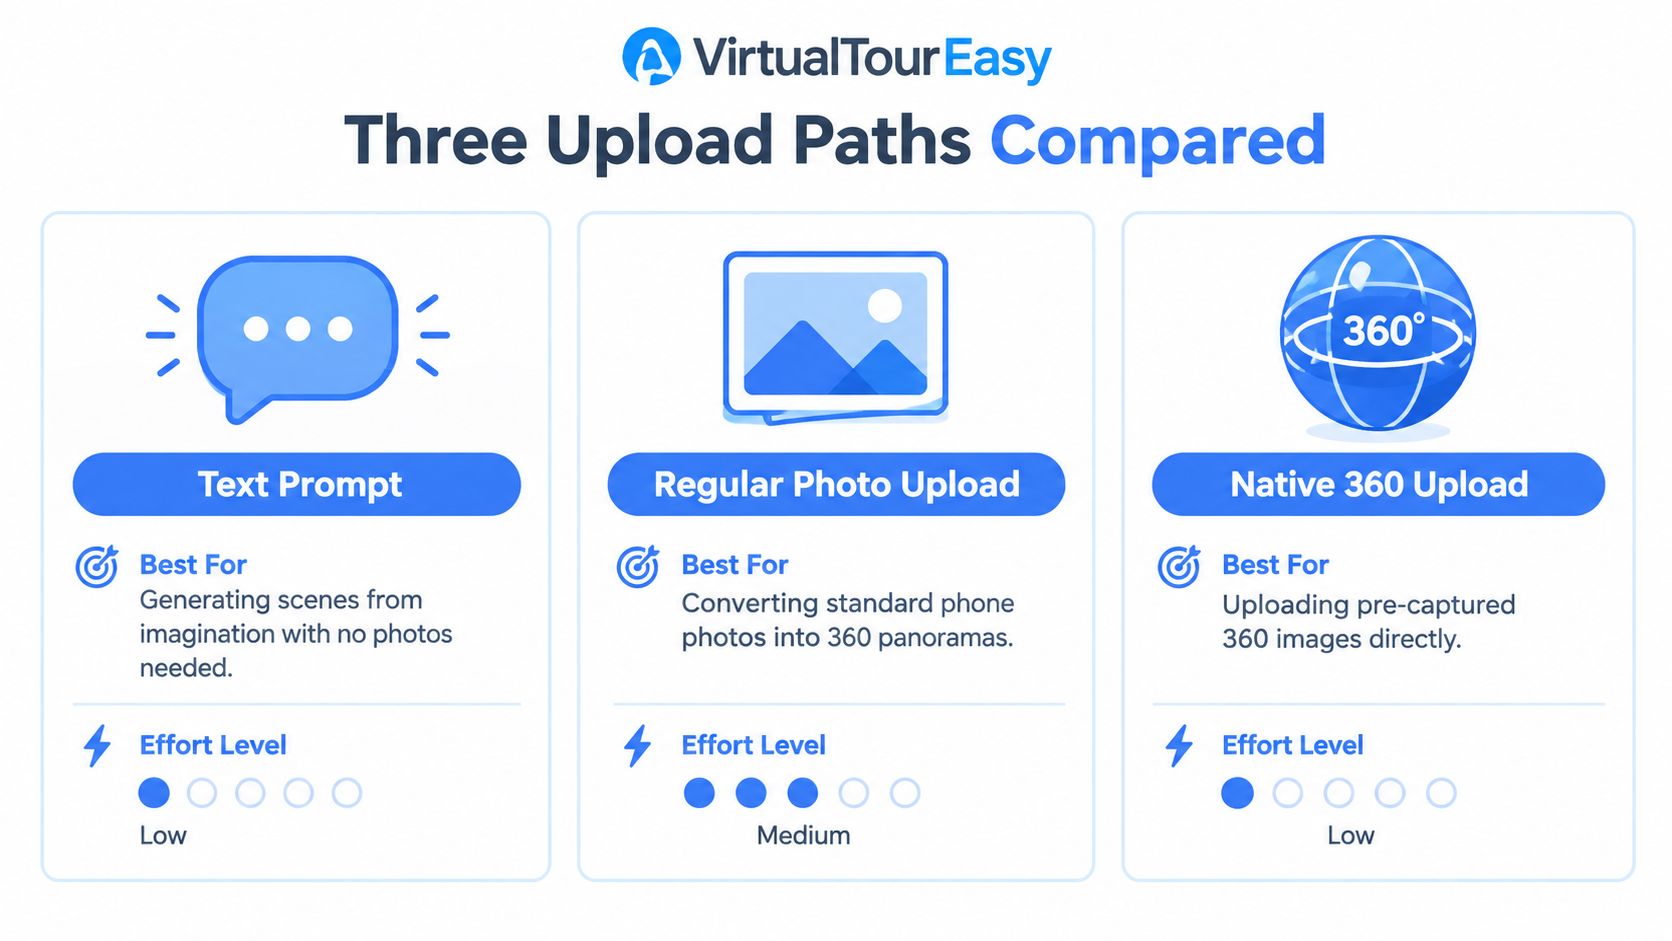
Regular photos give you the most flexibility, text prompts need zero hardware, and native 360 files usually demand the least conversion effort.
Three Upload Paths Compared
| Input Type | Best For | Effort Level |
|---|---|---|
| Text prompt | Imagining a space before any photos exist | Very low |
| Regular photo upload | Converting phone or DSLR shots into panoramas | Medium |
| Native 360 upload | Using dedicated 360° camera files | Low |
In short, pick text prompts for brainstorming, regular photos for on-the-go capture, and native 360 files when you already have a panorama ready to go.
Pick the Right Starting Point
Once your files are uploaded, arrange scenes in the visual builder, link rooms with hotspots, attach info panels, and set a custom viewing direction. If you're bringing in multiple rooms, sort your filenames and folders first using some practical folder naming and structure tips.
Practical tip: Never overwrite your original files. You'll want them handy if a converted panorama turns out poorly and needs another pass.
For sharper results, double-check your image quality settings for virtual tours before hitting publish.
Most failed uploads have nothing to do with the upload itself. They start the moment you pick up the phone. Keep the camera at chest height, hold the horizon level, and resist the urge to tilt sharply up or down. That alone eliminates the majority of crooked, unusable shots.
Lighting is the other half. Open the blinds, flip on every lamp in the room, and stand so the sun is behind you. Bright, even daylight holds onto detail far better than dramatic evening light, especially if that regular photo eventually gets converted into a 360° scene.
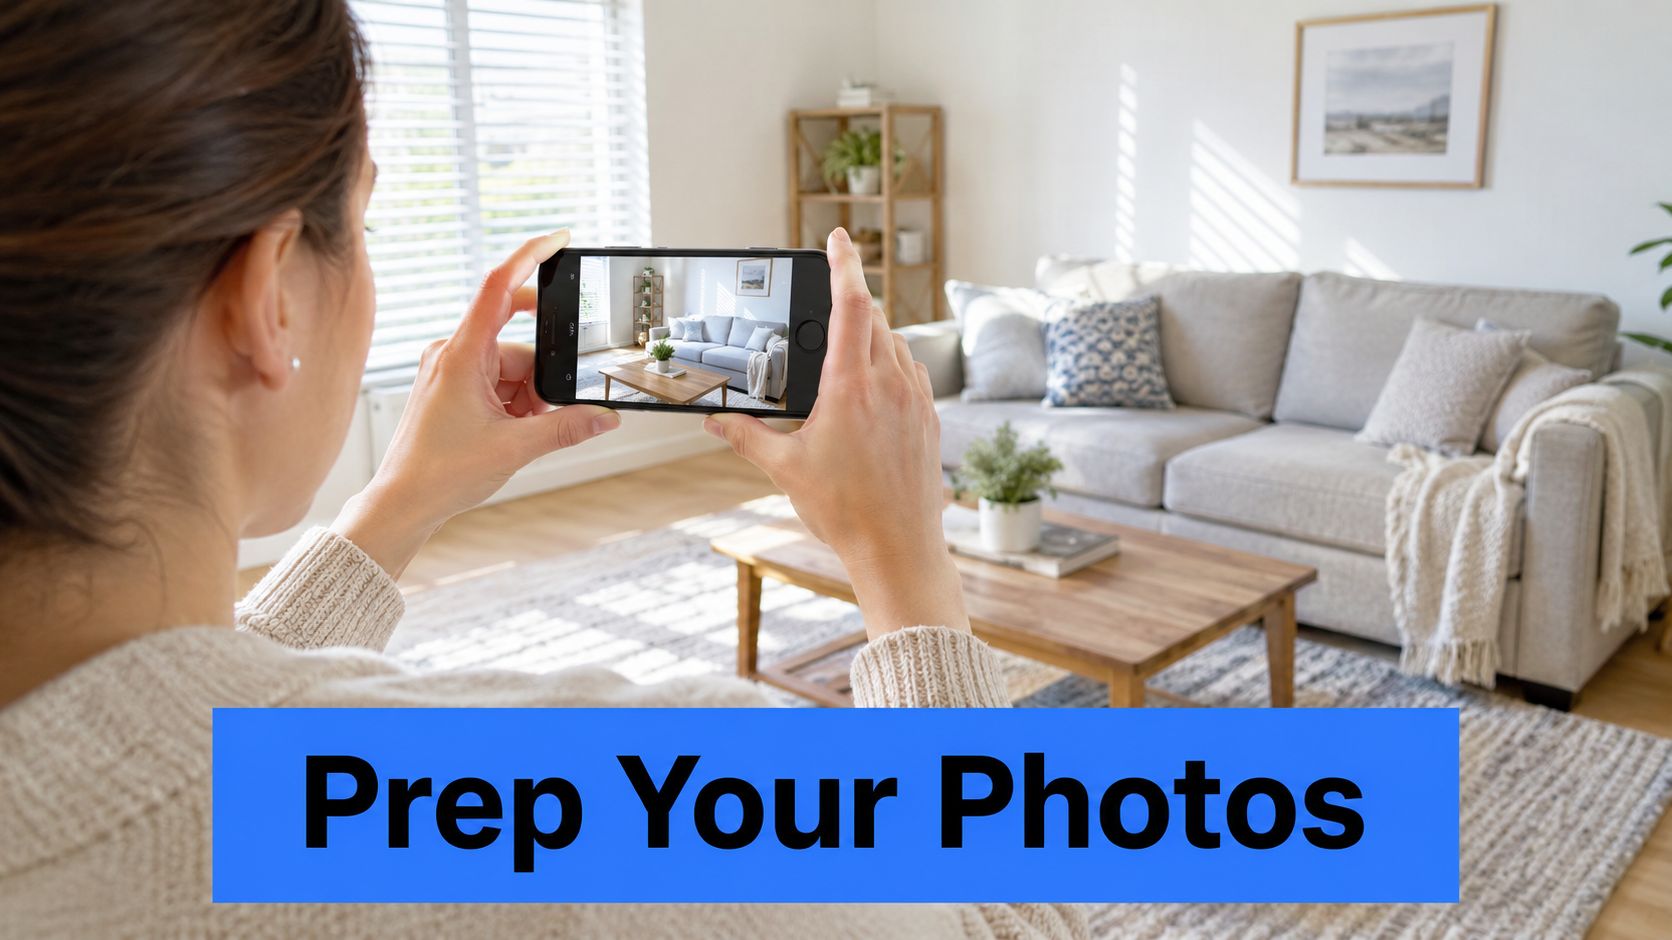
Before you shoot, clear the clutter. Coiled cables, waste bins, mail on the counter—they all shrink a room visually and confuse conversion algorithms with unnecessary edges. A tidy frame gives you a cleaner starting point every single time.
The one prep habit that shows up in every smooth listing shoot: fix the light and clear the room before touching camera settings.
Make Files Easy to Identify
Back up the originals first, then build a working folder where each file actually tells you what it is. Names like living-room-window, kitchen-island, and suite-204 make assembly obvious. Names like IMG_4821 do not.
Before uploading anything, run through this quick checklist:
- Pull the highest practical resolution your phone offers.
- Skip heavy compression that turns shadows into blocky artifacts.
- Rotate portrait shots before they hit the pipeline.
- Delete duplicates so you don't accidentally build two of the same scene.
- Double-check that your tour builder actually accepts the file format.
Large files will drag on mobile connections, but crushing them too hard softens furniture edges, signage, and architectural trim. The practical workaround is simple: keep one full-resolution original untouched, then compress only a separate working copy when bandwidth is a concern.
If you are shooting rooms with furniture, this guide on using furniture photos for buying decisions is worth a quick read before the session. It explains how clear, honest imagery leads to more confident choices on the buyer's side—useful context if you are trying to make a space look its best without misleading anyone.
For anything that needs to become a full panoramic view, spend a few minutes on how to take 360 photos before you start shooting. That small investment pays for itself by avoiding crooked horizons, dark corners, and the slow frustration of reuploading later.
Good image upload examples start with real work, not a blank demo. A boutique hotel marketer drags lobby and suite photos into VirtualTourEasy, then watches each regular shot transform into a navigable 360° scene.
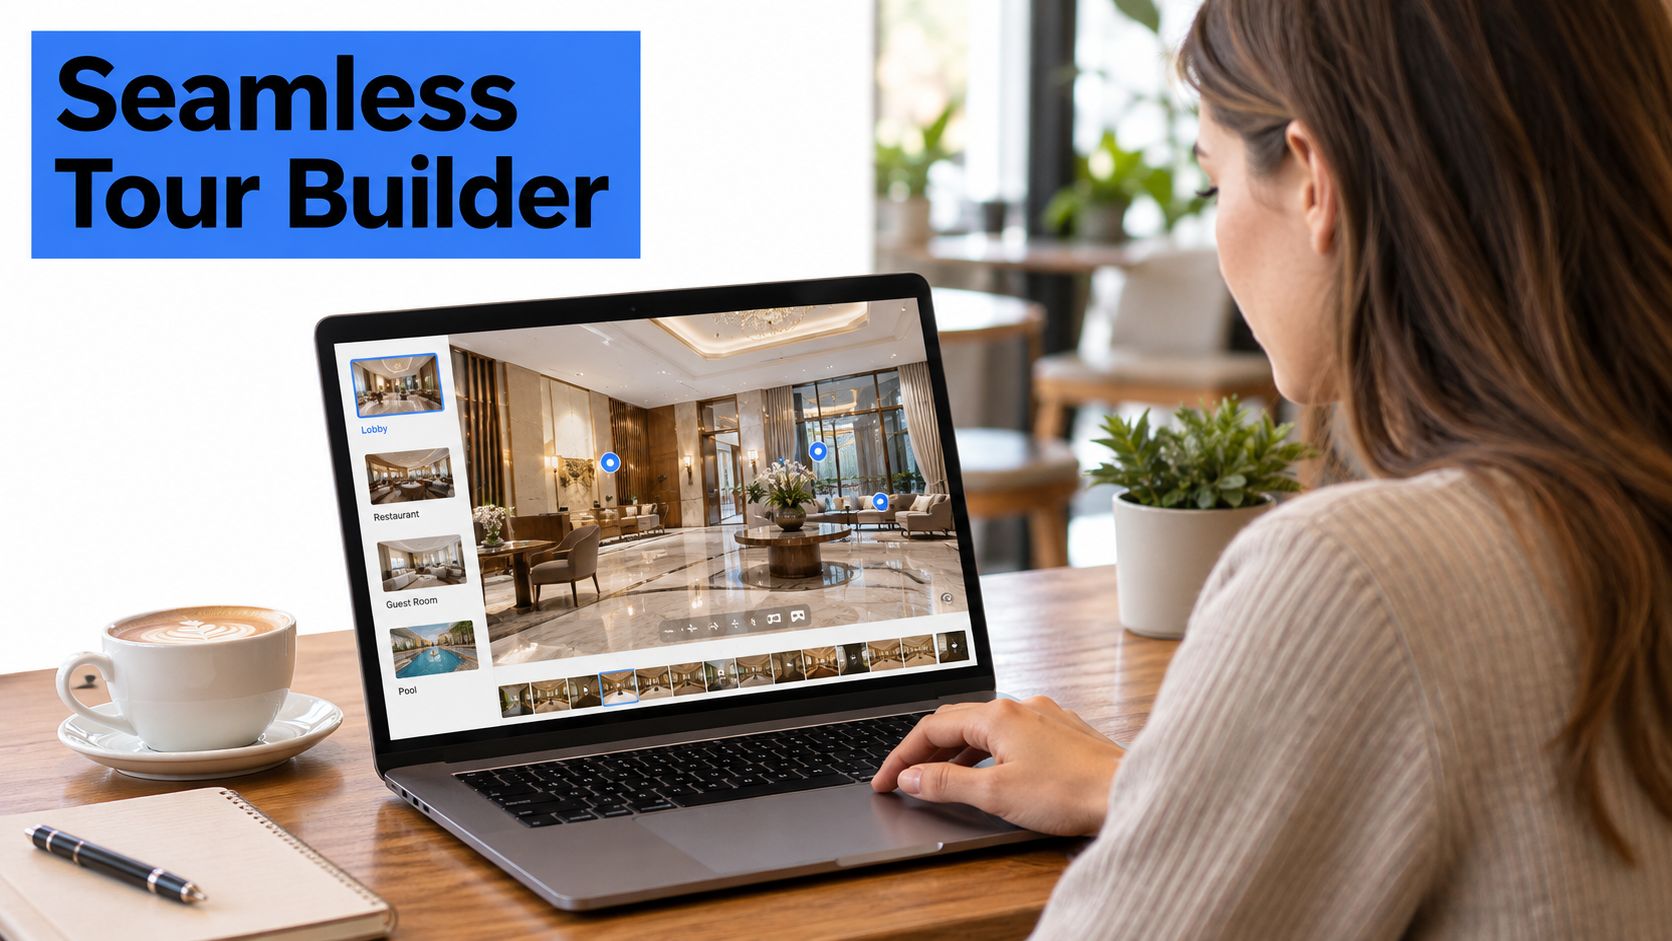
That first preview deserves close attention. She rotates through every corner, checking for stretched furniture, warped doorframes, dark ceilings, or strange floor artifacts. If something looks off, she swaps in a fresh file rather than overwriting the original.
Build the Tour Around Visitor Intent
Once the panoramas look clean, she sets a custom starting view that points directly toward the welcome desk. That opening frame answers the visitor's first question, where am I, before curiosity takes over.
From there, she connects the lobby to the suite with a hotspot. Another hotspot opens an information panel containing breakfast hours, menu highlights, and accessibility details. This keeps useful context inside the tour instead of forcing visitors to hunt through another page.
Her working checklist stays short:
- Name scenes by room so links stay clear.
- Preview hotspots from a visitor's perspective.
- Keep promotional details brief and easy to close.
- Place the booking action where it remains visible without interrupting exploration.
A strong tour guides attention without taking control away from the visitor.
The marketer then adds a lead form above the booking button. A guest who isn't ready to reserve can request a callback, ask about dates, or submit an event enquiry while the experience is still fresh.
Measure, Test, and Publish Carefully
Before sharing the link, she pastes the hotel's GA4 measurement details into the integration settings. That makes it possible to compare tour visits, device use, and booking interactions instead of guessing whether the experience actually helps.
Finally, she tests the tour on a phone and desktop, using a fresh browser for the share link. She checks that scenes load, forms submit, hotspots open, and text remains readable on smaller screens.
For an agency or hotel group, she also enables white-label branding and a custom domain. The public link now matches the business, while visitors get a clean experience without confusing redirects.
That final check matters more than another decorative hotspot. An upload is ready when the panorama looks natural, navigation feels obvious, tracking works, and the booking path opens reliably for real visitors.
Converting a flat photo into a 360 scene means stretching a single viewpoint across an entire navigable environment. The system has to guess what fills the ceiling and floor, widen the field of view, and stitch the edges together. That means any small flaw in the original image tends to show up clearly once you start rotating through the scene.
A tight crop leaves the algorithm with too little data to work with. An off-center subject ends up looking pulled toward one side. Bright windows, mirrors, or rows of identical furniture often produce warped details and visible seam lines.
Check the First Panorama Carefully
Open the preview and rotate slowly all the way around the room. Watch for these specific issues:
- Stretched edges: Doorframes and tables that bend unnaturally near the left or right boundary.
- Filled ceiling or floor: Empty zones displaying blurry textures or odd color transitions.
- Resolution loss: Signage, artwork, and trim that turn soft when the source file is too small.
- Mismatched joins: Lines, shadows, or furniture that refuse to line up where the panorama wraps around.
A clean conversion starts with a forgiving room, not a perfect algorithm.
Restaurants, living rooms, and open architecture studios tend to work well because they offer broad surfaces and clear visual structure. Narrow hallways, mirror-heavy bathrooms, and rooms with strong repeating patterns deserve extra scrutiny. There is simply less space to hide estimation errors.
When the result looks off, resist the urge to tear down and rebuild the entire tour. Instead, re-crop the source image so the main subject has some breathing room around it, then upload a higher-resolution copy while keeping the original file safely backed up.
Adjust the View and Iterate
Sometimes the panorama itself is solid, but the weakest seam happens to land right in the opening frame. Change the starting view so visitors encounter the room's strongest composition first rather than a warped corner or a visible join. This matters most for hotel lobbies, venue entrances, and property listing rooms where first impressions carry weight.
Here is a practical recovery loop that works:
- Inspect the preview from floor to ceiling.
- Figure out whether cropping, resolution, or subject placement caused the problem.
- Fix one variable at a time and upload again.
- Compare the new panorama on both phone and desktop before moving on.
For more detailed guidance on preparing your source files, read this guide to creating 360 photos online. Iteration beats perfection on the first upload. A controlled second pass almost always produces a more convincing scene than over-editing before you even run the conversion.
Catch Problems Before Publishing
Before you hit publish on a panorama, run through a quick quality check. A scene can look perfect in the builder but fall apart on a phone — compression softens the details, the default view ends up staring at a wall, or the file size makes mobile visitors wait forever.
One habit that'll save you real headaches: keep your untouched originals in a separate folder. Once you overwrite a sharp source with an aggressively compressed copy, getting it back isn't happening.
Open preview mode and rotate through every scene. Look closely at doors, furniture, ceilings, floors, and any text in the frame. Stretching, blur, or visible seams are easy to miss at a glance but obvious to a visitor.
Here's a rundown of issues that tend to slip through, along with what to do when you spot them.
| Issue | Symptom | Fix |
|---|---|---|
| Heavy compression | Blurry edges or blocky shadows | Re-upload a higher-quality working copy |
| Wrong orientation | Starting view faces the floor or wall | Rotate the source before uploading |
| Oversized file | Slow loading on mobile data | Compress the duplicate, not the original |
| Unsupported format | Upload silently fails | Convert to a supported image type |
| Duplicate scene | Two identical rooms confuse visitors | Remove the extra scene and rename files |
| Broken hotspot | A link opens the wrong room | Reconnect it after renaming scenes |
Most of these share the same root cause: a file got modified, renamed, or re-exported without checking downstream effects. A quick visual pass through each scene catches the majority before anyone else sees them.
Preview on the device your visitor will use, not only on the computer that built the tour.
Test Every Visitor Path
Grab your phone and use your thumb — not a mouse — to tap every hotspot, information panel, form, and booking link. Buttons that click fine on desktop can be too small or awkwardly placed on a touchscreen.
After that, open the share link and the website embed in a fresh browser tab. Editor sessions sometimes keep assets and permissions alive that won't persist for a public visitor. Testing in a clean tab catches missing files, broken links, and permission gaps.
A practical mobile walkthrough goes like this:
- Load the tour over cellular data, not Wi-Fi.
- Wait for the first scene to fully appear.
- Rotate through the opening view and look for distortion.
- Submit any lead or contact form.
- Confirm the next room opens where it should.
If a scene drags, reduce the working file size and repeat the test. For publicly hosted assets, double-check visibility settings too — uploaded files can end up on open URLs without you realizing it. HubSpot's file upload guidance covers this well.
Once everything checks out, jot down the approved filenames and hotspot destinations. It's a small step, but it makes seasonal refreshes — new hotel photos, updated campus tours, rotated listings — far less risky. If you're collecting images from clients or guests, this image upload form guide is worth a look for practical collection workflows.
When every scene, link, and device passes inspection, you can publish through VirtualTourEasy with confidence.
Can a Phone Camera Work?
A modern phone can get the job done if the room is well-lit, uncluttered, and you keep the phone steady while shooting. Clean the lens first, hold it level, and avoid pushing in too close — extreme close-ups rob the converter of detail it actually needs.
How Long Does Conversion Take?
Most conversions finish fast, but the exact time depends on file size, image quality, and how busy the processing queue is. Uploading a smaller working copy speeds things up. Still, keep the original on hand — you might need to reprocess if the panorama comes out soft or misaligned the first time.
What If a Hotspot Fails?
Open preview mode and check the hotspot from a phone. If it jumps to the wrong scene, the cause is usually a room name change or a swapped file. Reconnect the hotspot after fixing the reference, then run a short link audit before publishing.
Always preview every scene and hotspot on the device your audience will actually use.
Will Buyers Use the Tour?
Plenty of visitors like to walk through a space before they commit to traveling or booking an appointment. A tour won't replace sharp, well-lit photos, but it does answer layout questions and helps people decide whether they're serious. Tools like VirtualTourEasy add lead forms and analytics, so you can track how people interact instead of guessing. If you're collecting extra media from clients or guests, an image upload form guide is worth a look.
Once your tour goes live, getting it in front of the right people is what matters. A well-built panorama isn't just a finished product, it's a tool that helps remote buyers shortlist options, compare venues, and decide whether a flight, property visit, or site tour is actually worth their time.
Begin with a clean short link that loads properly on both mobile and desktop. Then embed the tour where your audience already looks: the relevant listing page, hotel website, venue resource hub, or campus portal. For wider organic reach, publish select scenes to Google Street View and export a cinematic walkthrough you can push out on social media or drop into a pitch deck.
Turning Views Into Useful Data
Publishing opens up more than visibility, it gives you signals. Inside VirtualTourEasy, you can pull up views, visitor counts, device breakdowns, and geographic data to understand how people move through each space. If your team runs campaigns across multiple channels, hooking up GA4, GTM, or custom tracking pixels fills in the gaps the native analytics don't cover.
Lead capture is worth thinking about while the visitor is still inside the tour, not after they've bounced. Keep the form lean, just a name, email, preferred dates, or specific property requirements. A short inline form feels far less intrusive than pulling someone away from the experience to a separate page.
The real value of a tour isn't how it looks, it's whether it moves someone to take the next step.
Content freshness matters more than people expect. Swap out seasonal hotel imagery before it looks dated. Update campus tours once renovations wrap up. Refresh restaurant or office layouts when furniture gets rearranged or menus change. Stale scenes breed doubt, especially when a prospect is comparing your tour against newer photos they found somewhere else.
For agencies, white-label branding, custom domains, and team roles keep every published experience looking consistent under your own name. Sellers tend to respond well when your pitch deck already includes immersive media, it signals that you've thought through how their space will be presented, not just listed.
- Drop the short link into email threads and proposals
- Embed the tour next to booking or enquiry information
- Check analytics after each campaign push
- Refresh scenes whenever the physical space changes
The move now is straightforward: upload your first image set on the free plan, publish a working tour, and scale up once storage or AI credits start feeling tight.
Start building your first immersive experience with VirtualTourEasy at VirtualTourEasy.