A real-estate agent may have a listing to prepare before the weekend open house, while a venue marketer may be rebuilding an outdated About page with no fresh visual material. Both need more than a flat photograph, but neither necessarily has a 360° camera, a panoramic head, or time to learn a complex stitching workflow.
That's where photo 360 online workflows become useful. A regular photograph can become an immersive scene, a text prompt can create a visual concept from nothing, a camera can produce a carefully stitched panorama, or an existing equirectangular file can move straight into a tour builder. The right choice depends on the source material, the required realism, and how much spatial accuracy the final experience must provide.
Table of Contents
- What You Can Actually Do with Photo 360 Online
- Turn a Regular Photo into a 360° Scene
- Generate a Full Panorama from a Text Prompt
- Capture, Stitch, and Upload Your Own Panoramas
- Pre-Publish QA for Any 360° Photo
- Editing, Assembly, and Export of Your Tour
- Choosing the Right Path and Publishing with Confidence
What You Can Actually Do with Photo 360 Online
The first decision isn't which button to press. It's identifying what already exists.
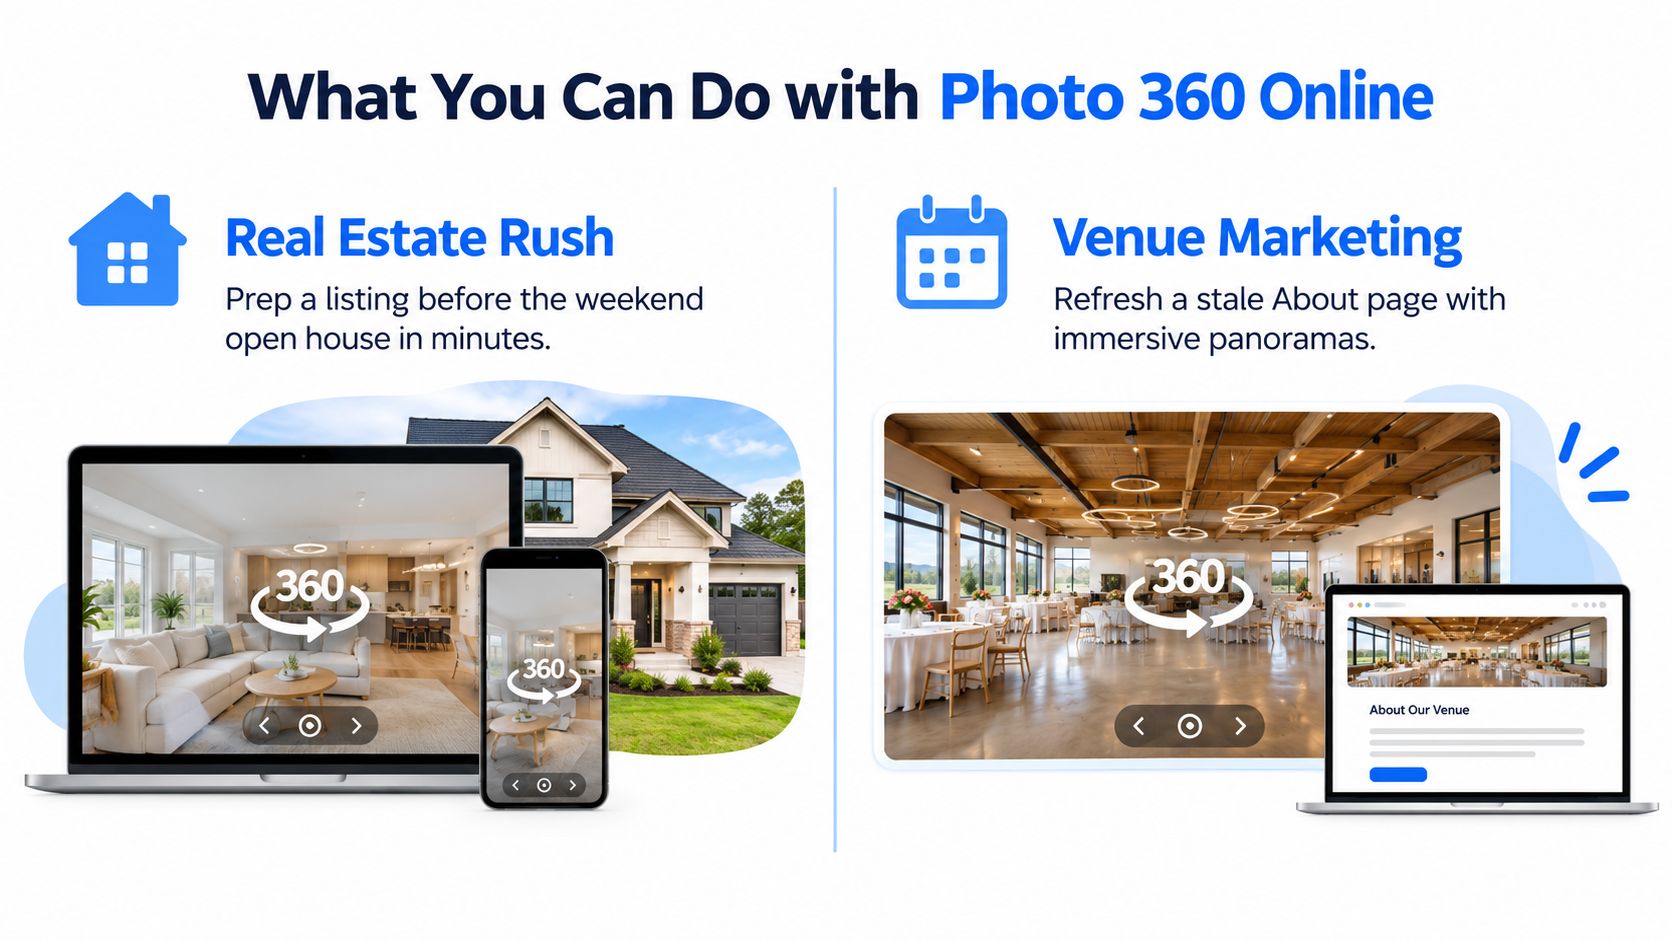
A single interior photograph can follow the photo-to-360 AI route. This requires a usable still image, preferably with clear depth cues, stable lines, and enough surrounding context for a believable extension. It's quick and practical for a listing draft, a concept page, or a room that can't be photographed again. The trade-off is that the unseen areas are generated, so the result needs visual and factual verification.
A prompt-to-360 workflow starts with no source photograph. The creator describes the property type, location, viewpoint, lighting, materials, and atmosphere, then reviews the generated panorama. This path suits a design concept, a speculative venue, or an early marketing mock-up. It's fast for exploration, but it isn't a substitute for documenting a real space.
Manual capture-and-stitch remains the route for high-fidelity spatial presentation. A DSLR, mirrorless camera, phone-based capture setup, or dedicated 360° camera records the actual environment. The operator controls exposure, overlap, camera position, and stitching. This takes longer, but it preserves the strongest connection between the online scene and the physical room.
The final route is upload-existing. A photographer, client, or agency may already have a finished equirectangular panorama. In that case, the work is mainly file validation, scene organization, hotspot placement, and publishing. The upload path saves the most production time when the source file is already clean.
Real-estate marketing provides a clear reason to consider these formats. Invision Studio's sector estimates report approximately 40% more clicks for listings with virtual tours, potential reductions of about 40% in wasted physical viewings, online booking increases of up to 85%, and 47% of surveyed respondents calling virtual tours very important to a property listing. Those figures are sector-specific estimates, not guarantees, but they explain why navigable imagery can support qualification before an appointment. Teams that also need structured customer feedback can review features for collecting testimonials as a separate part of the marketing workflow.
The practical starting question is simple: does the team have one still image, only a creative brief, a complete camera capture, or a finished equirectangular file? That answer determines the production path.
Turn a Regular Photo into a 360° Scene
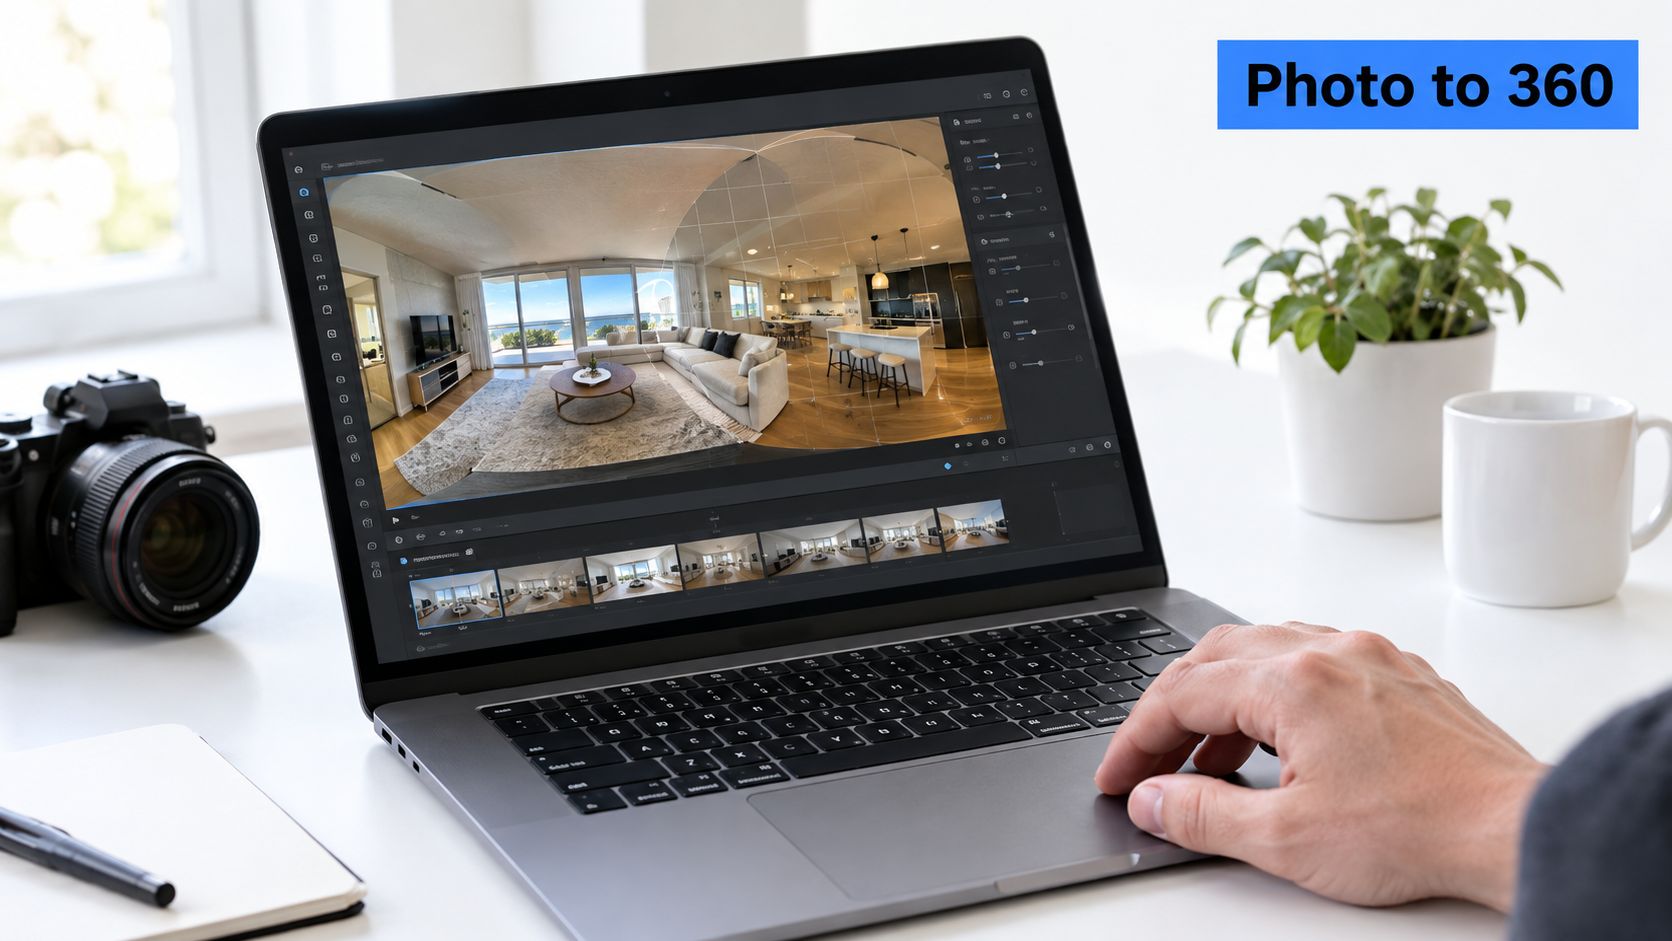
The photo-to-360 route works best when the source photograph gives the system something concrete to extend. An interior image with visible walls, furniture, flooring, and lighting direction provides useful spatial cues. Motion blur, heavy cropping, mirrors, and a subject standing close to the camera make the result harder to control.
Inside the photo-to-360 workspace, the operator begins by uploading the source image and selecting the scene treatment. Extend scene is the controlled option. It preserves the visible photograph and asks the system to construct the areas outside the original frame. Reimagine scene allows broader changes and can be useful when the original image has weak composition, distracting objects, or an unsuitable mood.
The aspect-ratio control matters because the final panorama needs to behave correctly inside a spherical viewer. A conventional image may look natural as a rectangle but stretch badly when projected around a virtual camera. The operator should preview the equirectangular output rather than judging only the initial flat image.
Recovering from a weak generation
AI failures are usually visible when the viewer rotates away from the original photograph. Furniture may bend into the wall, a chair may appear twice, and the wrap point may join two incompatible surfaces. Text on signs can become unreadable, while windows and door frames may lose their geometry.
A reliable recovery sequence is:
- Trim the source frame. Remove distracting edges, people crossing the composition, and objects that create ambiguous depth.
- Change the mode. If reimagining introduced too many alterations, return to extend scene. If the original photograph is visually weak, test reimagine scene with a narrower brief.
- Tighten the prompt. Describe the room function, materials, lighting direction, and objects that must remain consistent. Shorter prompts often reduce unrelated creative changes.
- Inspect the weakest quadrant. A panorama can look convincing in the original direction while failing above, below, or behind the camera.
- Fall back to physical capture. If the scene will support a purchase, inspection, accessibility decision, or safety discussion, generated content shouldn't be presented as measured reality.
The handoff is a preview equirectangular panorama. Once the seams and expanded areas pass review, that file can become a scene in the tour editor, where the operator adds navigation and contextual information. The workflow is efficient because it avoids a new shoot, but the operator still needs to label generated areas.
Generate a Full Panorama from a Text Prompt
Prompt-to-360 is useful when no acceptable source photograph exists. It can create a venue concept before construction, a hospitality mood scene for a campaign, or a generic property environment for a design presentation. It shouldn't be used to imply that a real building contains features that haven't been photographed or verified.
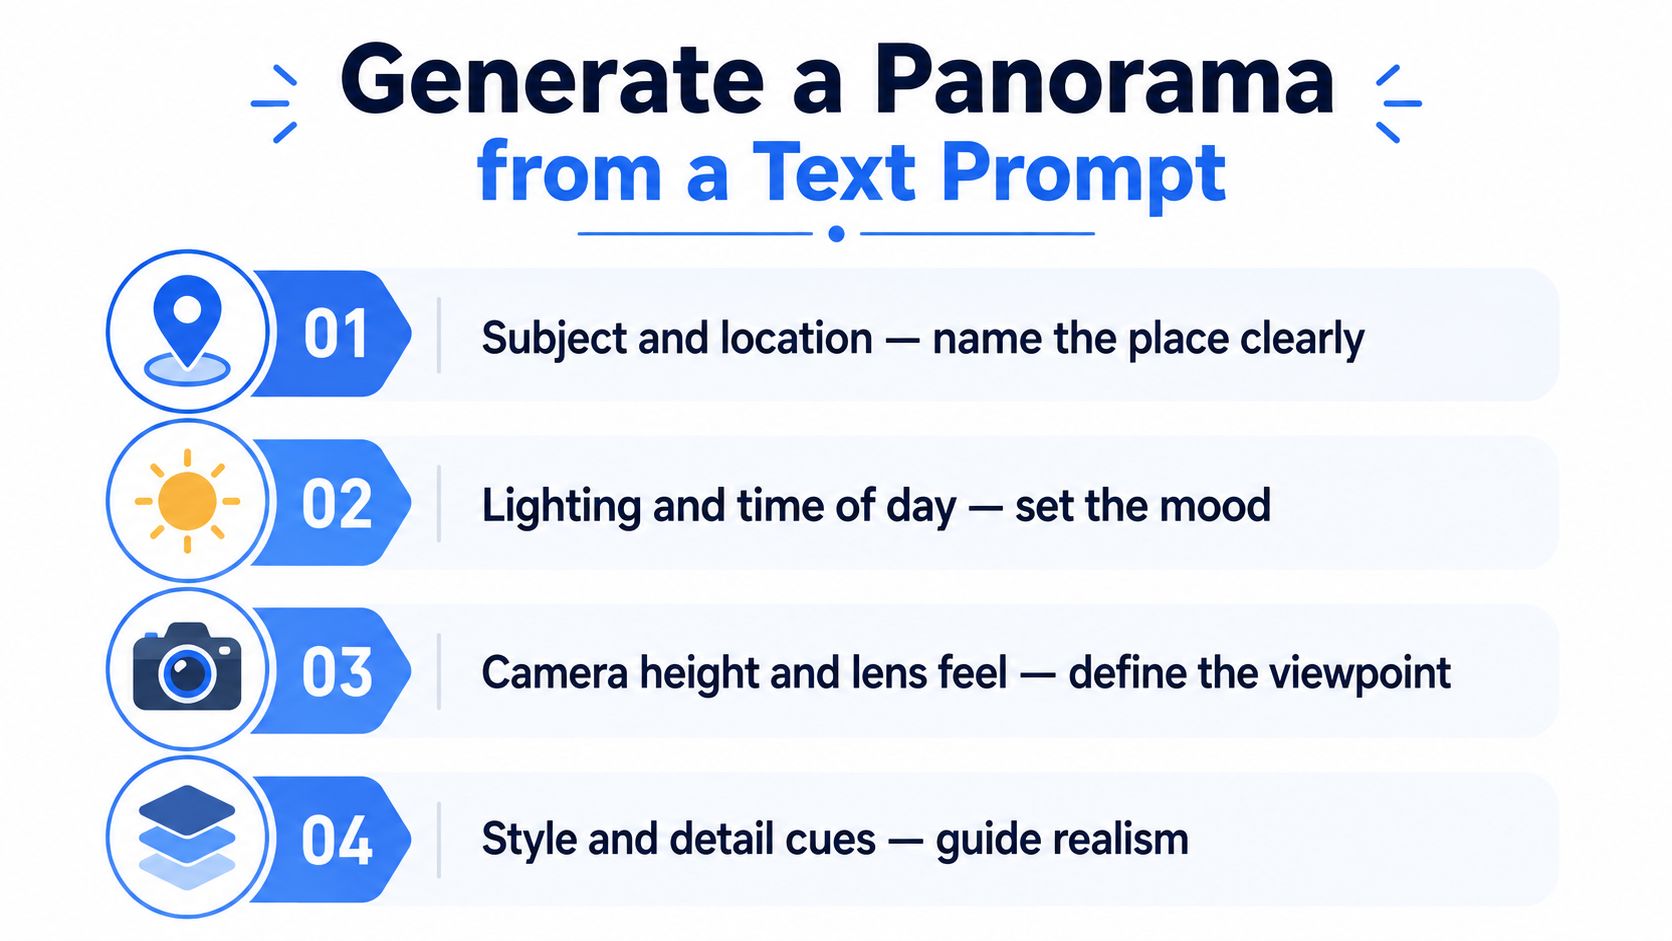
A workable prompt has four layers:
- Subject and location: Define the environment clearly, such as a compact boutique hotel lobby, a coastal event venue, or a contemporary apartment living room.
- Lighting and time of day: Specify soft morning light, overcast daylight, evening ambient lighting, or another consistent condition.
- Camera height and lens feel: State whether the viewpoint should feel like an eye-level walkthrough, a standing architectural view, or a lower hospitality perspective.
- Style and material cues: Name surfaces, colors, furniture language, cleanliness, and the intended degree of realism.
The first generation should be treated as a layout test, not a finished deliverable. The operator rotates through the panorama and identifies the weakest quadrant. Perhaps the main seating area works, but the kitchen has impossible cabinetry. Perhaps the entrance looks coherent, but the ceiling lights change direction around the seam.
The next prompt should correct that specific weakness rather than adding a long list of new creative instructions. A useful refinement might reinforce a continuous wood floor, matching recessed lights throughout the ceiling, and one doorway on the rear wall. After another render, the same inspection should happen from the seam, the ceiling, and the floor.
Production rule: Once a generation is visually close, manual patching is often more efficient than repeated prompting.
The stopping threshold is practical rather than mathematical. If the main structure works and only a small region fails, another prompt pass may change areas that were already correct. A localized edit or a switch to photo-to-360 may preserve more of the intended composition.
Brand and rights issues also require restraint. Named brands, recognizable faces, and copyrighted interiors can create approval problems. The prompt should describe visual characteristics instead, such as “a premium coffee bar with warm timber, brushed metal, and understated signage,” rather than requesting a specific protected interior. The resulting panorama follows the same tour editor pipeline as a converted photograph, but it needs clear disclosure when viewers could mistake visualization for documentation.
Capture, Stitch, and Upload Your Own Panoramas
A manual panorama earns its place when the scene must match reality, preserve fine details, or support reliable measurement. It takes more setup than photo-to-360 AI, but it gives you control over exposure, geometry, and what appears in the final tour. Choose this route when you have suitable source material and can manage the capture conditions. If the original files already form a panorama, upload-existing is faster than rebuilding the scene.
Manual production starts before the camera records its first frame. Clear people and moving objects from the area, check reflective surfaces, level the camera, and decide how the tripod or floor region will be concealed. Every object appears somewhere in a spherical image, so clutter beneath the camera and bright windows behind the operator can create defects that take longer to fix than to prevent.
Lock exposure and white balance manually. Changing exposure creates brightness bands between frames, while automatic white balance can shift adjacent images from warm to cool. A field-survey source indicates that only a small share of panorama failures comes from post-processing, so acquisition deserves the most attention. The detailed panorama workflow from Frame and Focal reports that manual exposure reduced exposure-related stitching failures by 92% compared with Aperture Priority.
Capture discipline saves editing time
Rotate the camera around the lens's optical center, often called the nodal point. A panoramic head provides more control than rotating a handheld camera around its grip. The wrong rotation point creates parallax, causing nearby objects to shift against distant backgrounds. Stitching software may not reconcile those changes cleanly.
Match overlap to the lens and workflow. The same guidance recommends approximately 30% to 35% overlap for 14–24 mm lenses and 25% to 30% for 35–70 mm lenses. Keep the camera height consistent as well. A changing horizon makes doors, countertops, and wall lines harder to align.
After capture, follow this production sequence:
- Review source frames: Remove images with people crossing a seam, camera movement, or exposure changes.
- Choose equirectangular projection: Use it for a complete spherical scene rather than a flat cylindrical panorama.
- Add control points selectively: Thin rails, repeating shelves, and strong vertical lines may need three to five precise points across a difficult seam.
- Handle the nadir deliberately: Plan tripod removal and floor reconstruction before export.
- Export the full sphere: A 2:1 equirectangular JPEG or PNG fits the format used by many tour platforms.
For teams extending still panoramas into immersive video, the RemotionAI guide to VR filming provides production context on camera placement and movement. The finished panorama can then enter the photo 360 app workflow as a base scene for hotspots, transitions, and information panels.
Pre-Publish QA for Any 360° Photo
A panorama can look clean as a thumbnail and fail once a viewer rotates through it. Run quality assurance on both the equirectangular file and the interactive scene. The projection can expose defects that a flat preview hides, and each creation path needs a slightly different inspection.
A practical first pass uses this checklist:
- Wrap seam: Inspect the left and right edges for ghosting, zipper artifacts, color shifts, and broken architectural lines. These edges meet at the 0° and 360° boundary.
- Zenith and nadir: Check the ceiling and floor poles for gaps, stretched textures, or missing regions. A floor plate may cover the nadir, but it should not hide a wider stitching failure.
- Exposure continuity: Rotate through the complete scene and look for blown windows, crushed shadows, vignetting, or abrupt brightness changes.
- AI artifacts: For photo-to-360 AI and prompt-to-360 output, inspect furniture, signs, doors, reflections, repeated textures, and lighting direction. Look for warped geometry, duplicated objects, melted lettering, impossible openings, and shadows that change without a physical reason.
- Resolution and coverage: Confirm that the panorama contains a complete horizontal sphere and enough vertical coverage for the intended viewer or platform.
- Navigation preview: Check the initial view, hotspot direction, and scene transition after the panorama enters the tour. A technically correct image can still open toward a wall or send viewers into the wrong room.
Google's professional Street View specification requires a full 360° horizontal field of view, at least 135° of contiguous vertical field of view, and a minimum 8K capture resolution at 5 frames per second for compatible 360° cameras, according to Google's professional Street View specification. These requirements apply to compatible capture workflows, not to every generated or uploaded panorama. Lighting, lens sharpness, compression, and display size still affect the result. Before publishing to Street View, use the Google Maps 360 photo upload checklist to verify coverage and resolution, then test the tour on desktop and mobile.
Record defects by location
Document the scene ID and approximate viewing direction for every issue. “The living room has a problem” slows the correction. “Scene three, rear-left quadrant, window frame bends into the curtain” gives the editor a direct target and makes retesting faster.
Generated panoramas require closer inspection because plausible areas may be inferred rather than captured. The panoramic-imaging review from Wiley discusses depth ambiguity, stitch-line warping, inconsistent lighting, and absent stereoscopic depth in panoramic imaging. Use an online panorama for orientation and evaluation, while retaining inspections, floor plans, measurements, or 3D scans where the project requires them.
Compress the final file only after stitching quality passes. Confirm readable text, intended opening directions, clean transitions, and stable brightness on both desktop and mobile.
Editing, Assembly, and Export of Your Tour
A folder of panoramas becomes a usable tour only after viewers can understand how the scenes connect. Assembly is the point where the four production paths converge, whether the source came from photo-to-360 AI, prompt-to-360 generation, manual capture and stitching, or an existing equirectangular file. Start with a clear entry scene, a readable title, and a viewing direction that shows the room's strongest feature. For a hotel room, that may be the bed and window. For a venue, it may be the stage, bar, or central event area.
Navigation should follow how people physically move through the space. Place hotspots at doorways, stair entrances, corridors, and wide openings. A marker in the middle of a patterned floor or against a busy wall gives viewers no obvious cue. Set a clear label, a recognizable icon, and one target scene for each hotspot. Keep the route deliberate rather than linking every scene to every other scene.
Build information into the space
Information panels work best when attached to the objects or areas they explain. A property team might place one on a kitchen island. A venue operator could identify the stage, entrance, loading area, or seating zone. Use text, images, and links to answer questions that would otherwise require a phone call or another visit.
The floor-plan view provides a separate structural check. It can expose an orphan panorama with no incoming link, a scene sequence that conflicts with the physical route, or a transition that appears to send viewers through a wall. Every published scene needs a defined role, even if the tour does not include every possible route.
Export each tour for its intended audience and channel:
- Website embed: Keeps the tour inside a property page, venue page, or campaign landing page.
- Short link: Gives email, messaging, proposals, and printed materials a simple destination.
- Google Street View publication: Places a verified panorama on a public business or property profile.
- Cinematic video walkthrough: Converts the tour into a format suited to social posts and presentations where viewers may not interact with the sphere.
Google Street View publication needs a separate review from a private website embed. Research on real-estate tours has reported that respondents found tours useful for evaluating properties when distance made an in-person visit difficult. That indicates perceived usefulness, not a guaranteed sales result, so publish only scenes that meet the project's verification standard.
Open every export in an incognito browser and test it on a mobile device. Use the image quality settings guide when choosing compression and display settings, then inspect text, transitions, loading behavior, and the opening view. Exporting too aggressively can erase fine detail, while keeping unnecessarily large files can slow the experience.
A tour is ready when viewers can move through it, read its labels, and understand the space without production errors competing for attention.
Choosing the Right Path and Publishing with Confidence
The four pathways match four different starting conditions. A single smartphone photograph belongs in photo-to-360 AI. A creative brief with no reference image belongs in prompt-to-360. A DSLR or multi-frame camera walkthrough belongs in manual capture-and-stitch. A finished equirectangular PNG from a photographer or client belongs in upload-existing.
The fastest path isn't automatically the right path. A generated scene may reach a polished visual direction quickly, but its unseen areas require stronger verification. Manual capture takes more preparation, but it provides the clearest evidence that the room shown online corresponds to a real room. Upload-existing can be nearly immediate when the file has already passed technical checks, but a poor source remains poor after import.
| Starting material | Suitable route | Main trade-off | Publication gate |
|---|---|---|---|
| One clear still photograph | Photo-to-360 AI | Fast expansion, inferred areas | Check geometry, seams, and disclosure |
| A written creative concept | Prompt-to-360 | Flexible visualization, lower documentary value | Check continuity and label the scene accurately |
| Overlapping camera frames | Manual capture-and-stitch | More setup, stronger physical fidelity | Check exposure, control points, and poles |
| Finished equirectangular panorama | Upload-existing | Minimal production work, source quality is fixed | Validate coverage, resolution, and viewer behavior |
Confidence is the actual deliverable
A single-view panorama has no explicit 3D geometry and limited parallax. It can help a prospect understand flow and orientation, but apparent room size, sightlines, and accessibility conditions can still mislead. Generated or expanded regions should never be treated as measured areas, especially where safety or compliance decisions depend on accuracy.
That makes provenance part of the publishing workflow. The tour owner should know which scenes were captured, which were stitched from source frames, which were AI-expanded, and which were fully synthetic. Captions, floor plans, dimensions, and an appropriate disclosure can preserve usefulness without overstating what the image proves.
After verification, the tour can become a lead asset rather than a standalone visual. Share analytics can show which scenes attract attention, gated scenes can support qualification, and white-label branding can keep agency or enterprise presentations consistent. Those features matter only after the underlying panorama earns trust.
Virtual Tour Easy lets teams create online 360° scenes from text prompts or regular photographs, upload existing panoramas, and assemble them with hotspots, info panels, embeds, short links, and other publishing options. Start with the source material already available, apply the QA workflow above, and visit Virtual Tour Easy to build and publish the first verified tour.